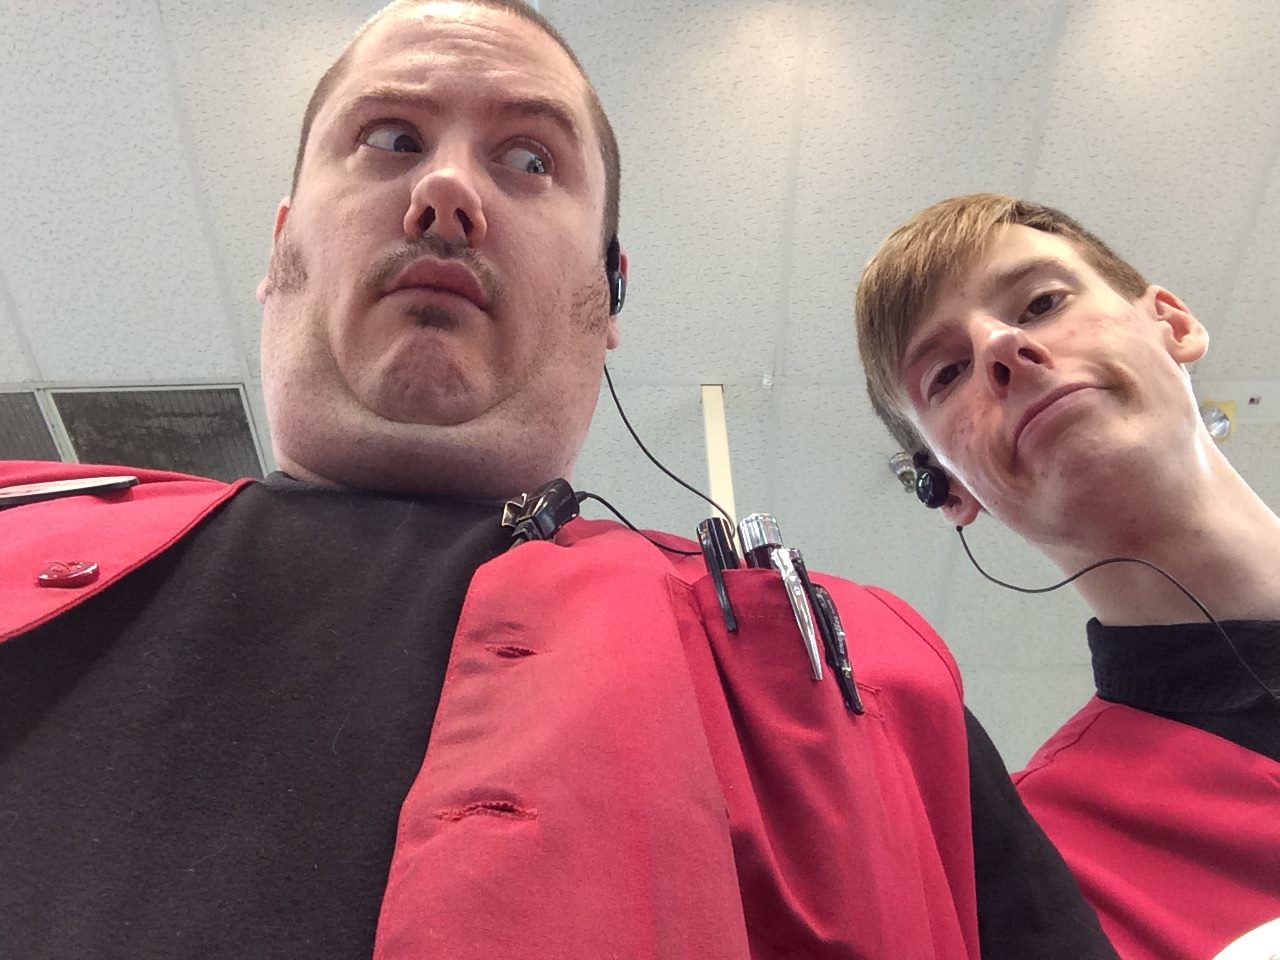
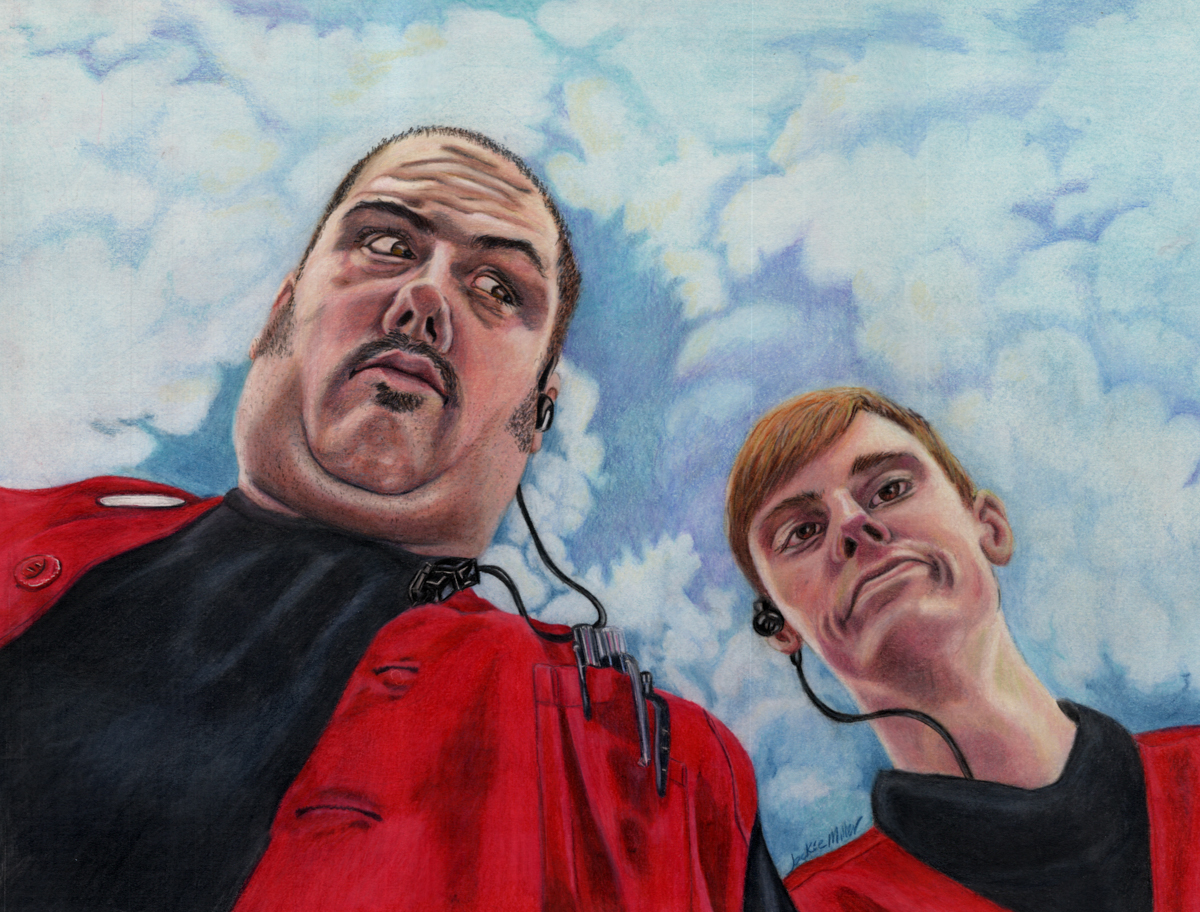
I have been absolutely slammed with wedding prep for my youngest son’s up coming marriage since returning from Florida to witness the birth of my eldest son’s first baby. Since I was there during the photo shoot (which included this amazing photo) I was quick to ask the photographer for permission to paint any of the photos she was about to take. With delight I was glad to hear her say “I was hoping you would ask that! Yes!”

Photo by permission of naomilynn.com
Even as I sat on the sofa in my son’s home looking at the photos that the baby’s aunt Naomi took, I have been anticipating painting this photo. My son’s mother in law even offered to get me some art supplies so I could get started. But I chose to put aside my painting and just hold the baby for as long as I was able, before I had to head home to Oregon. SO even though I am slammed with wedding prep, I still snuck in a few hours here and there to paint this piece entitled Grey in Gray.
My students had asked me if I would teach a class on values once I returned home. So I thought what would be more appropriate then a gray values painting of baby Grey. (Even though I would have painting him for any excuse and will be for a long time I’m sure.)
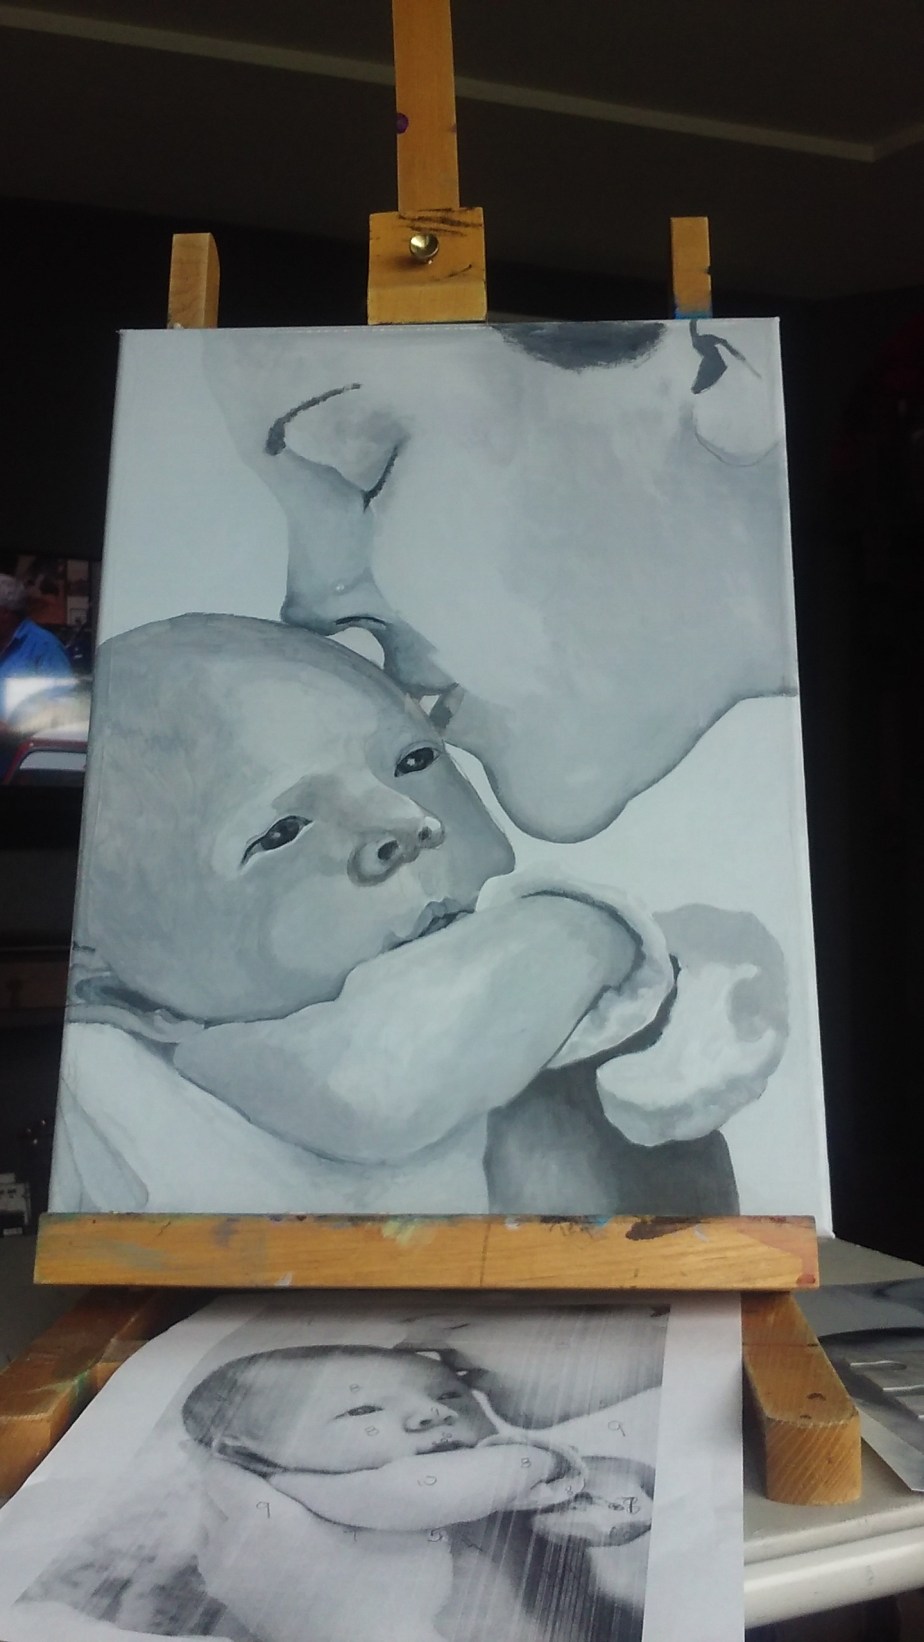
So like always I started by taking my photo into photoshop and turning it into a black and white. Then I had a nice 8 x 10 glossy printed up and printed out a b&w photo copy as well.
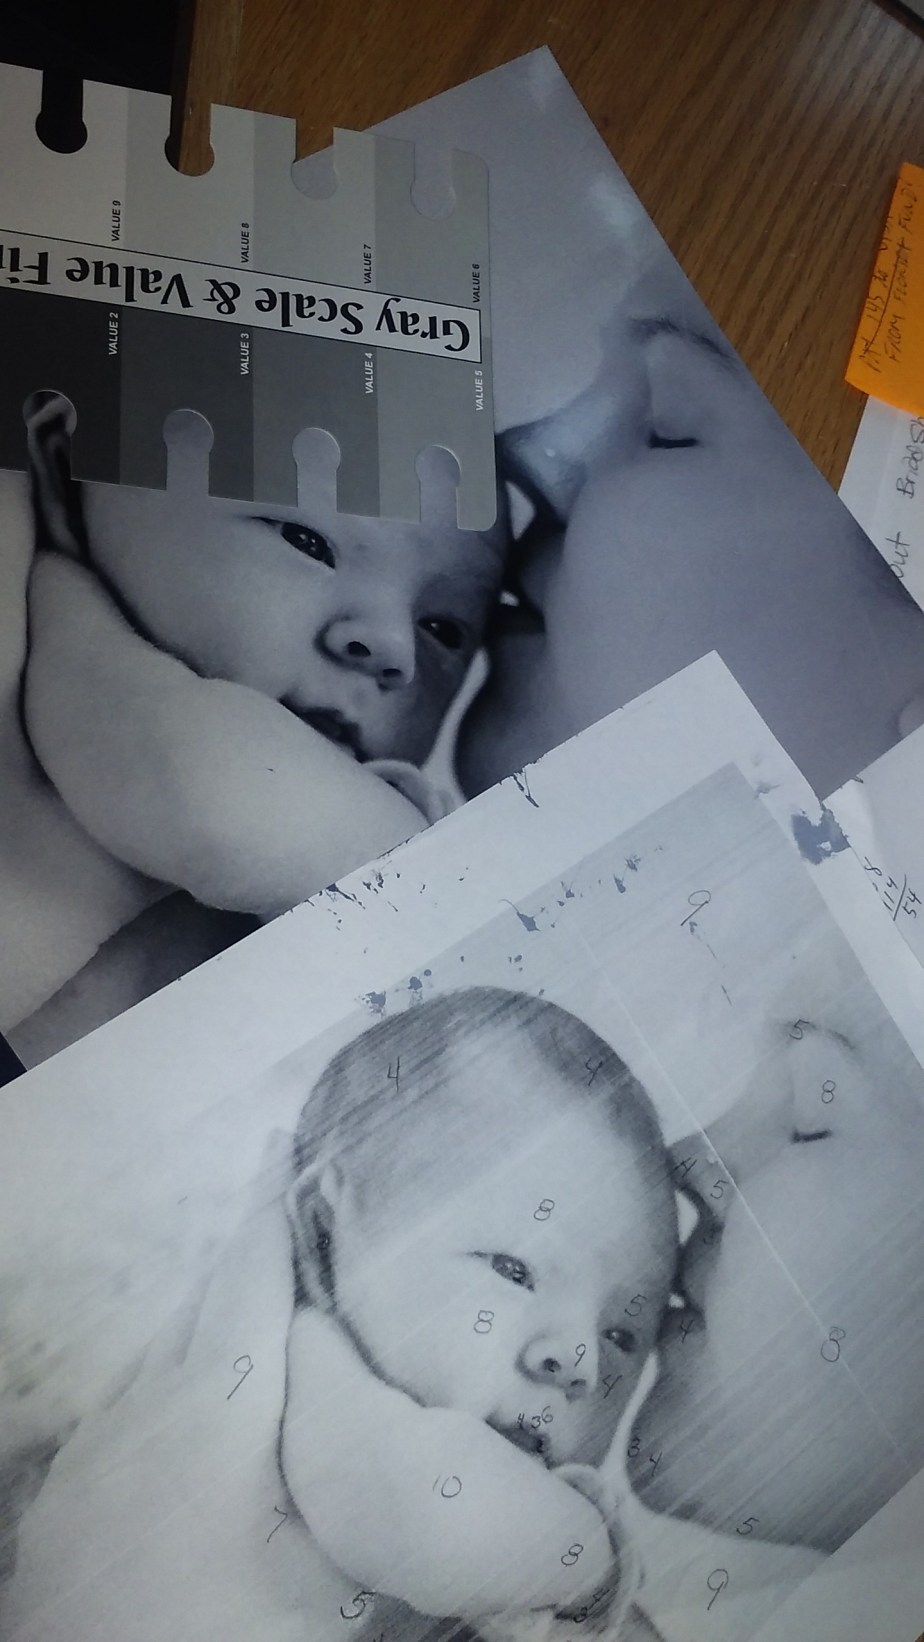
Using my values chart on the photo I then use the photo copy to write the corresponding value on the areas I had just checked. I did this twice as the photo was dark then I wanted the painting to be. The colored photo looked light and fresh but once I transferred it to b&w it was a little darker and I wanted a lighter feeling to the painting. So once all my basic values were charted I stepped them up 2 or 3 values and re-wrote out the corrected numbers on another photo copy.
To avoid any mistakes I then threw away the first photo copy with the original numbers on it. I did not want to take the chance of picking up the wrong copy and getting the values all mixed up on the painting. So then I blocked in the basic values on the different areas of the painting.
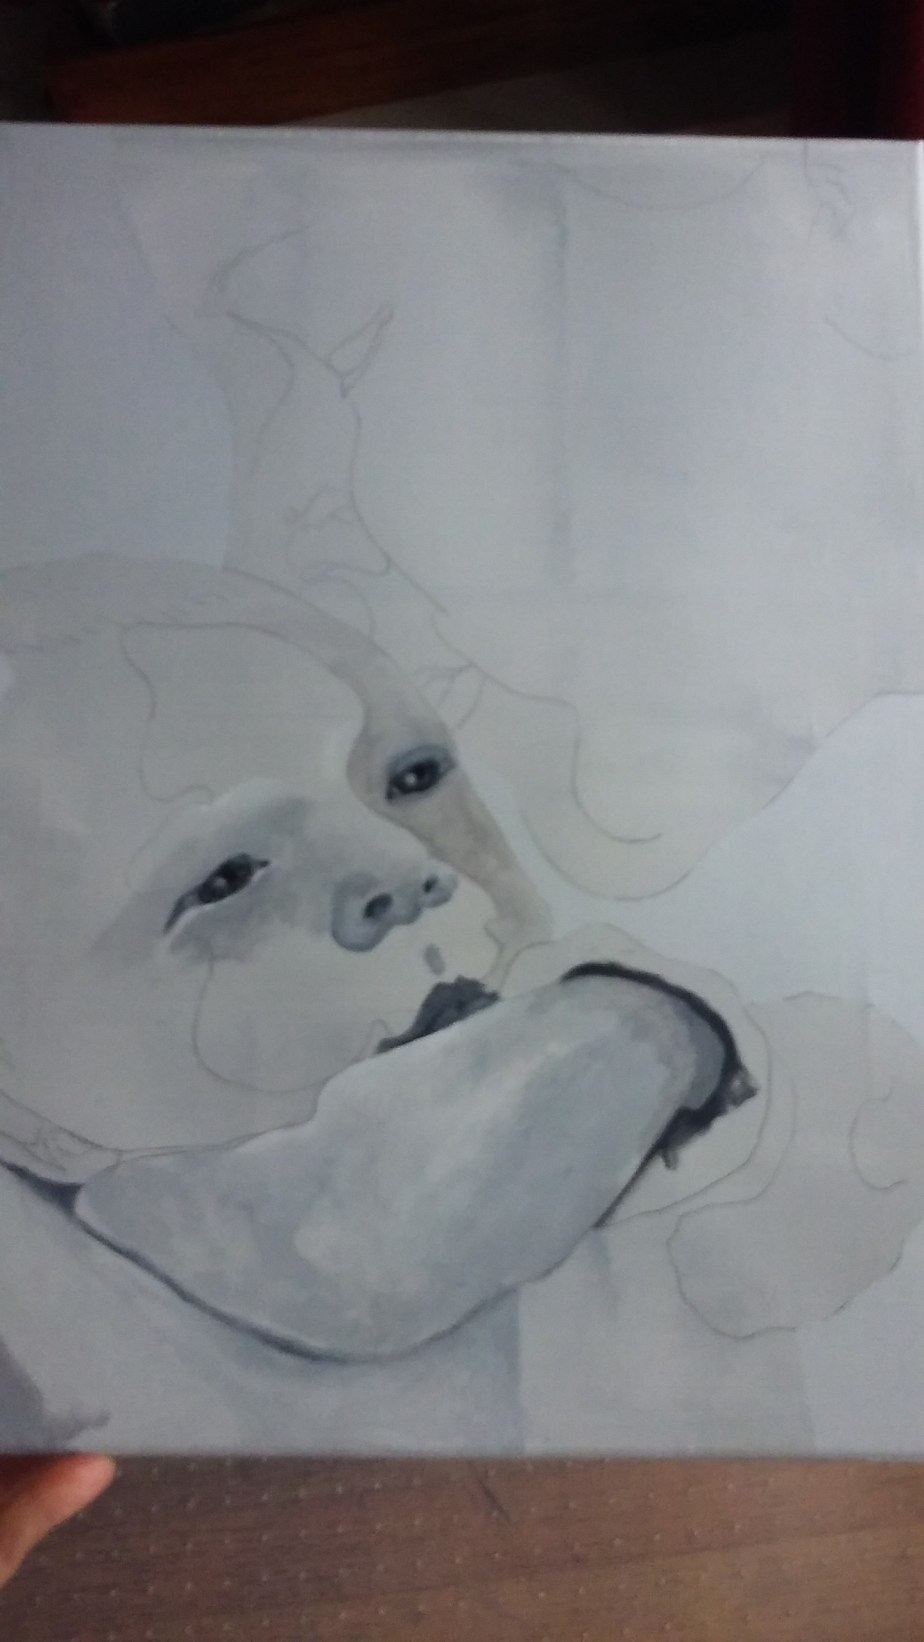
Being that this was a painting of a very soft baby, I wanted the canvas to be very soft as well without a lot of grain to the canvas left. So I primed it again with a layer of gray gesso before beginning the actual painting, then sanded it smooth. This was one of the smoothest paintings I have ever done. I really like having a smooth canvas and it gave the affect I wanted it to have. I did find myself painting and then taking a dry brush and dabbing at it to smooth out and blend colors. I really haven’t done that much before but it gave the skin a very natural soft texture that looks and feels very much like baby skin.
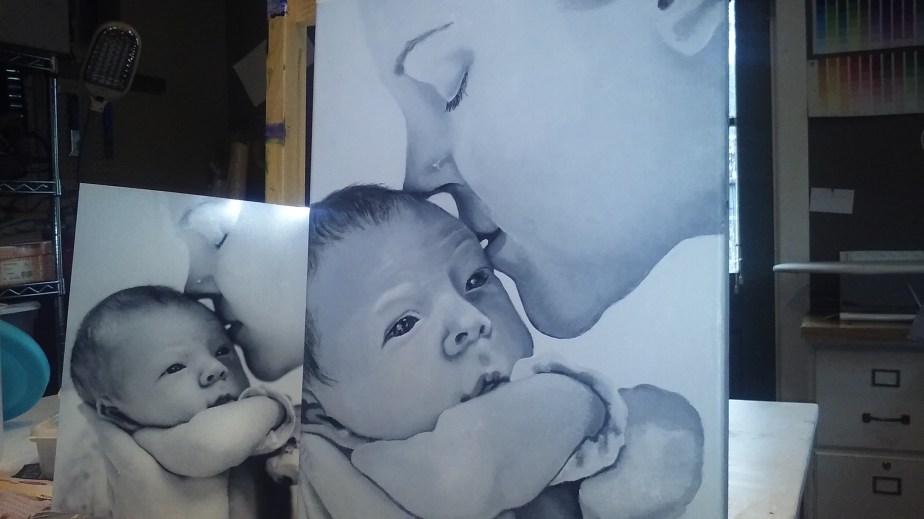
Once I got all the areas of the painting blocked in, I let the painting dry for a couple of days. Then when I was able to squeeze in a little more time on him I started to put more detail and more subtle value changes in. This was so much fun as I saw with every stroke that my grandson’s face was taking shape. My daughter in Law’s face came together just as quickly and beautifuly. I love this part of the painting as you really do start getting a 3 D affect as you put in more and more values.

So again, it was time to let the painting rest and dry.
NOTE: I used Golden Open white titanium paint for this painting and mixed it with the regular Golden brand acrylic paint. Acrylic paints dry very fast, but the new Golden OPEN paint will keep the dry time open for a much longer time, giving me the time I need to blend subtle value changes! Which I love.
But unfortunately, this paint reactivates up to and past 3 weeks. Which means that this morning when I went to put on the finishing touches like adding final highlights, instead of adding, it actually lifted the dry color off, creating and very blotchy look, Which I, well, lets put it this way “Hate is a strong word, but I really really , really don’t like you! ” I can’t help myself! I burst into song lyrics at random points all the time. LOL! i would always rather laugh then cry and that was my option now. So I decided to sing!
So to fix this paint problem, I had to spray the painting with a clear spray varnish to seal off the underpainting, so that nothing would move once I started to put on the highlights and hair details. This worked great. I hope you like it! 😀
Thank you for taking your time to read about my work process. If you would like to check out my other pieces please click jackielittlemiller.com