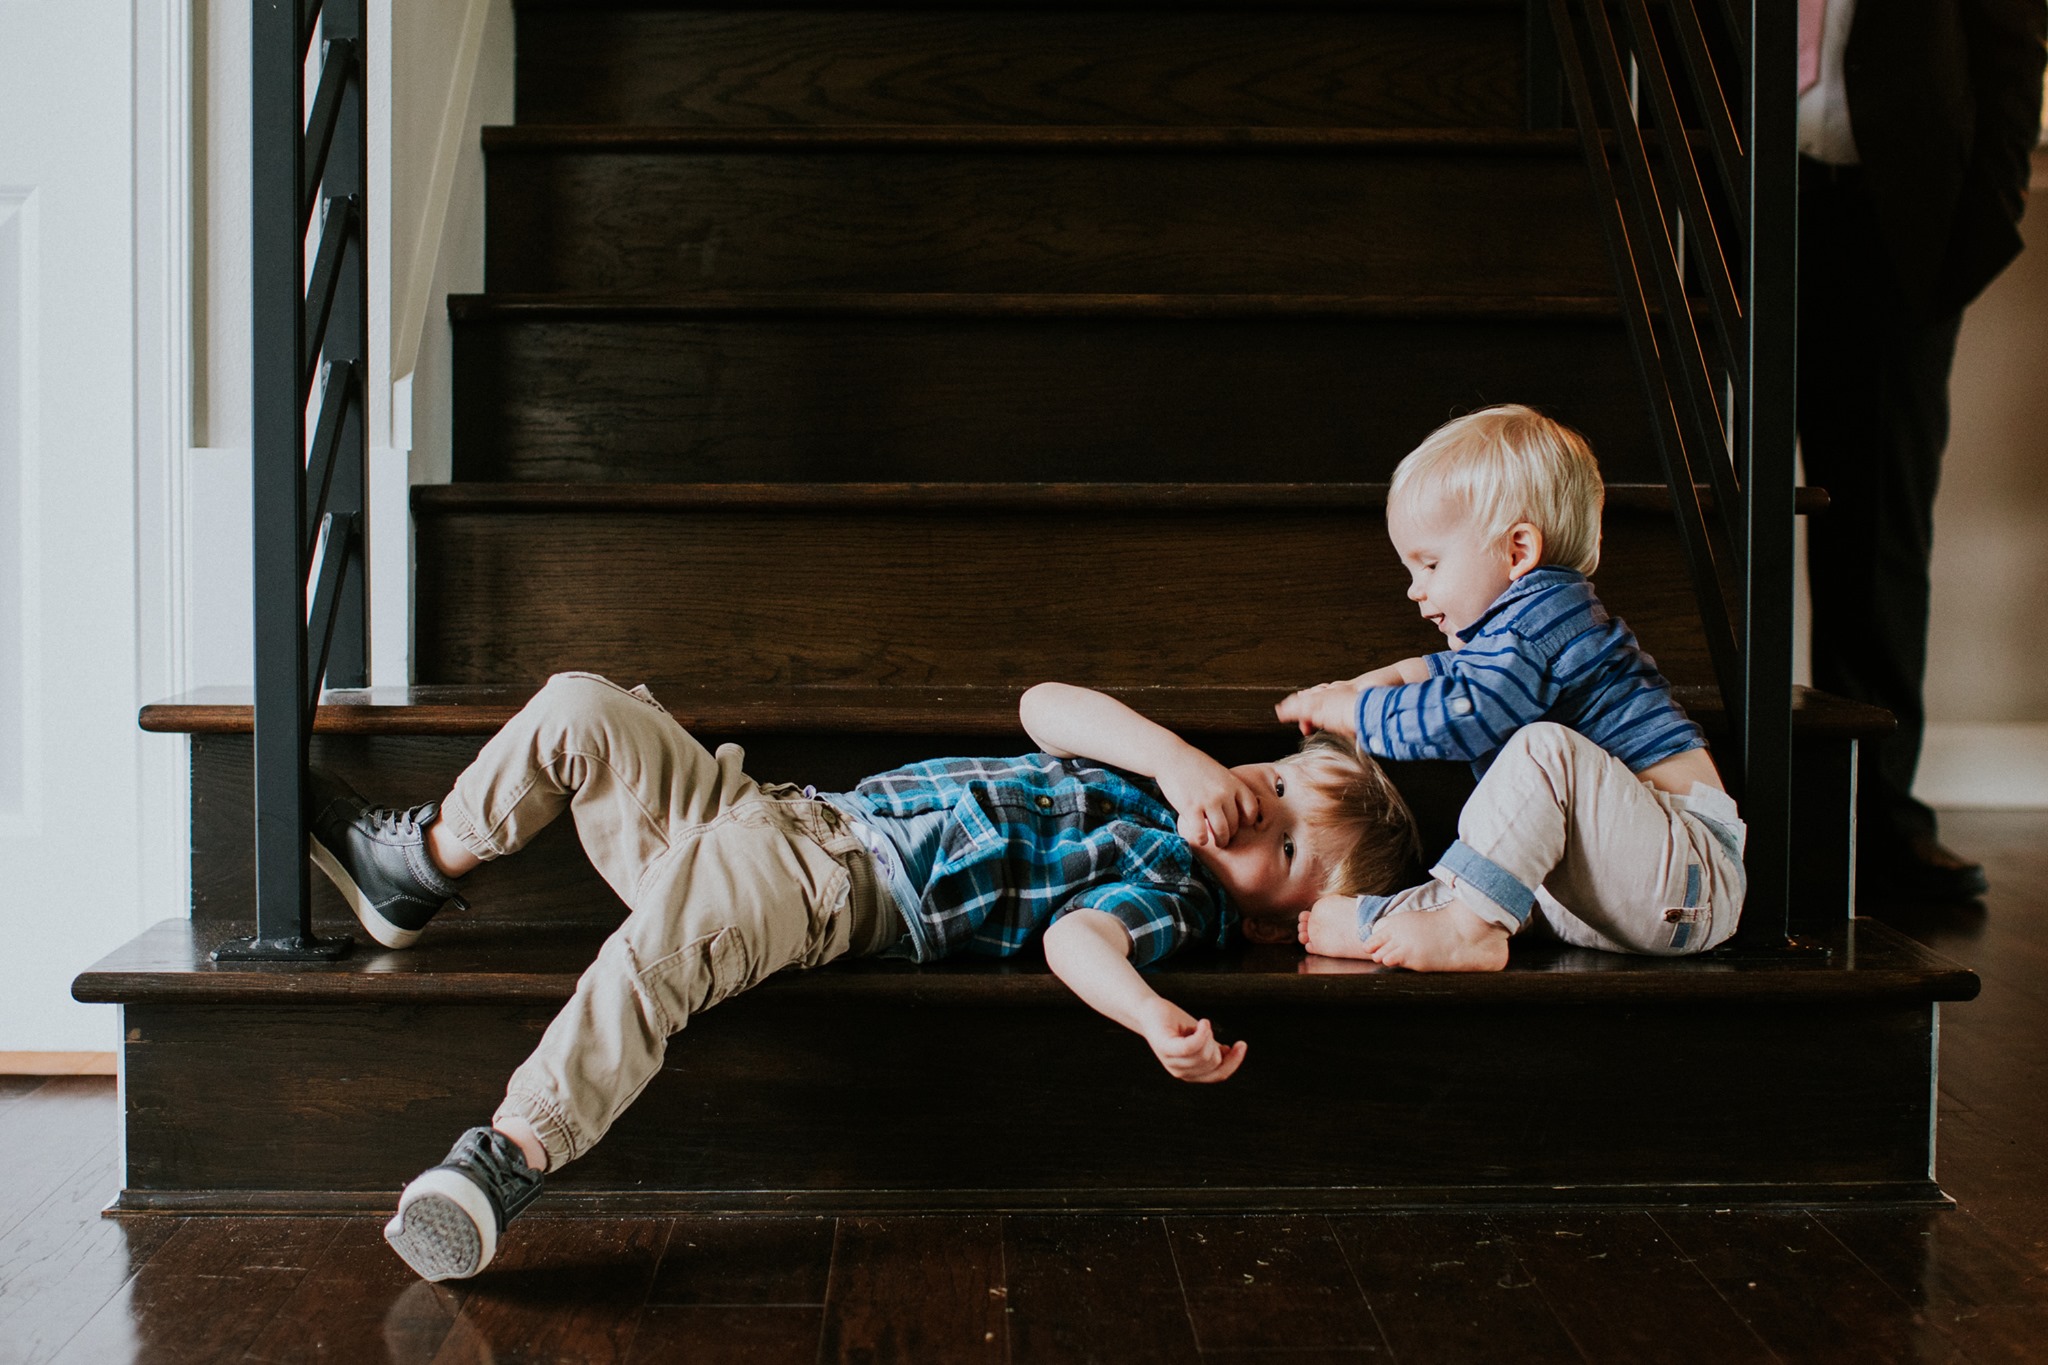

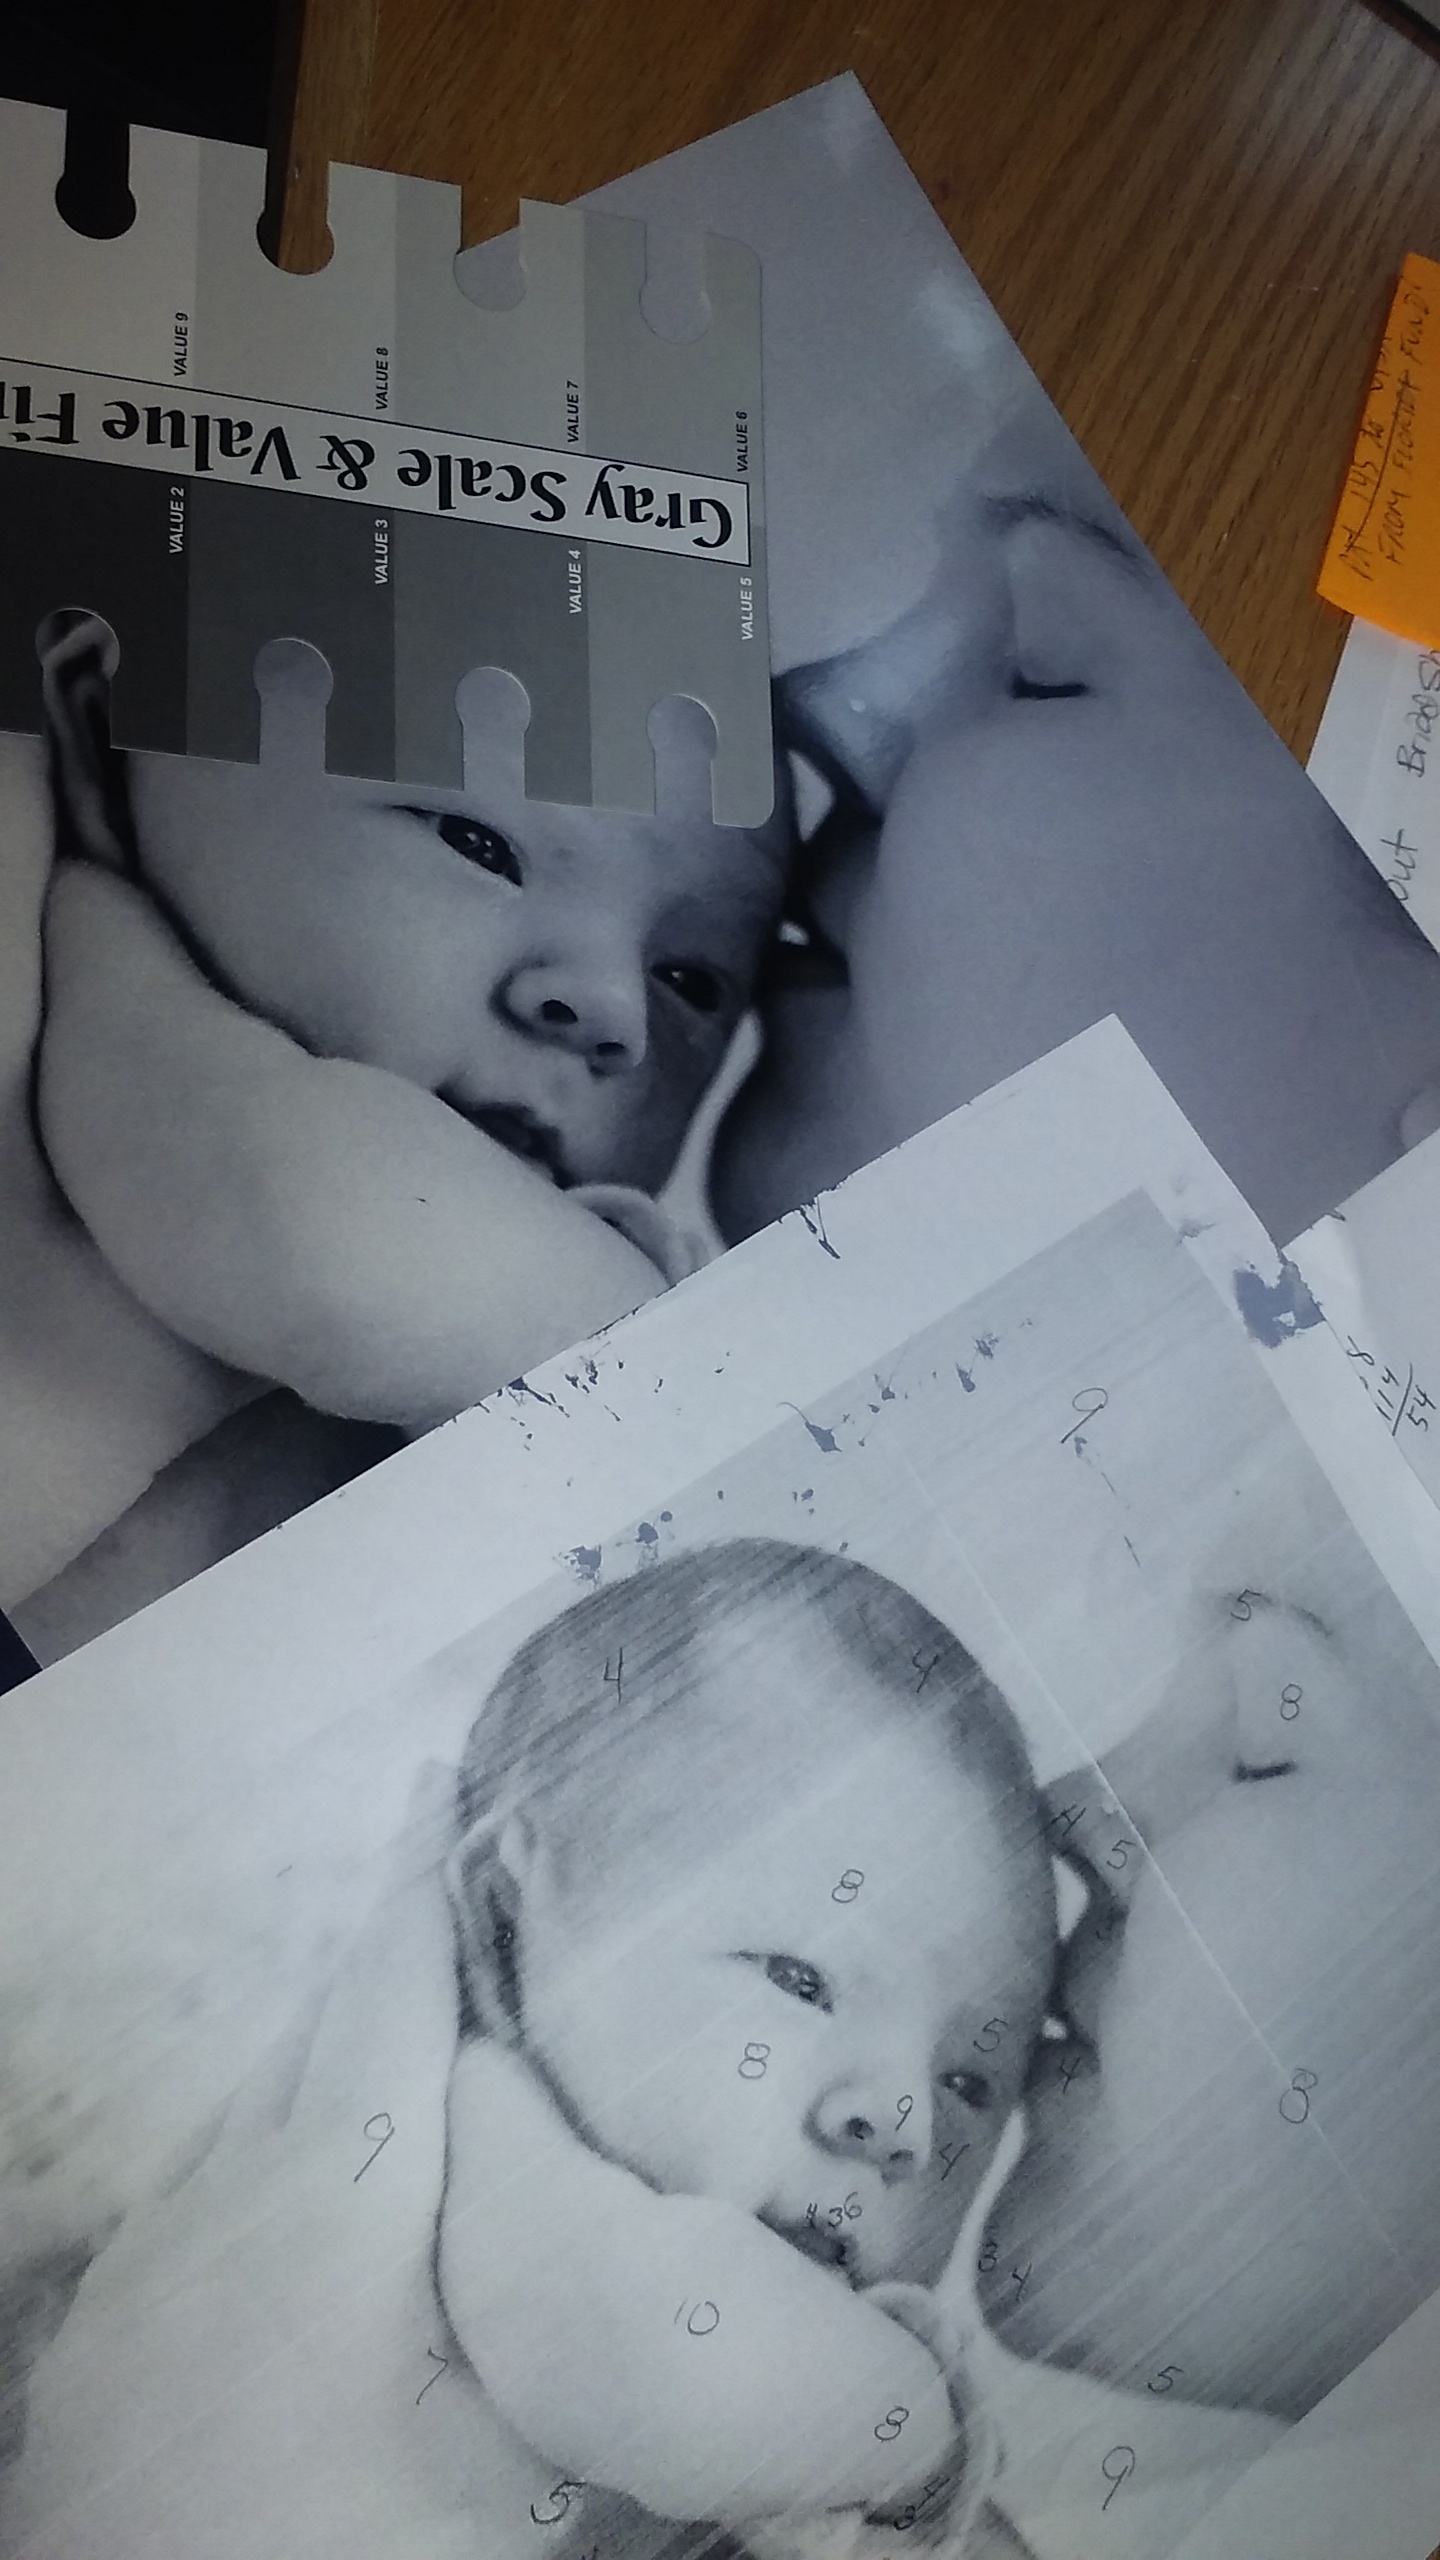
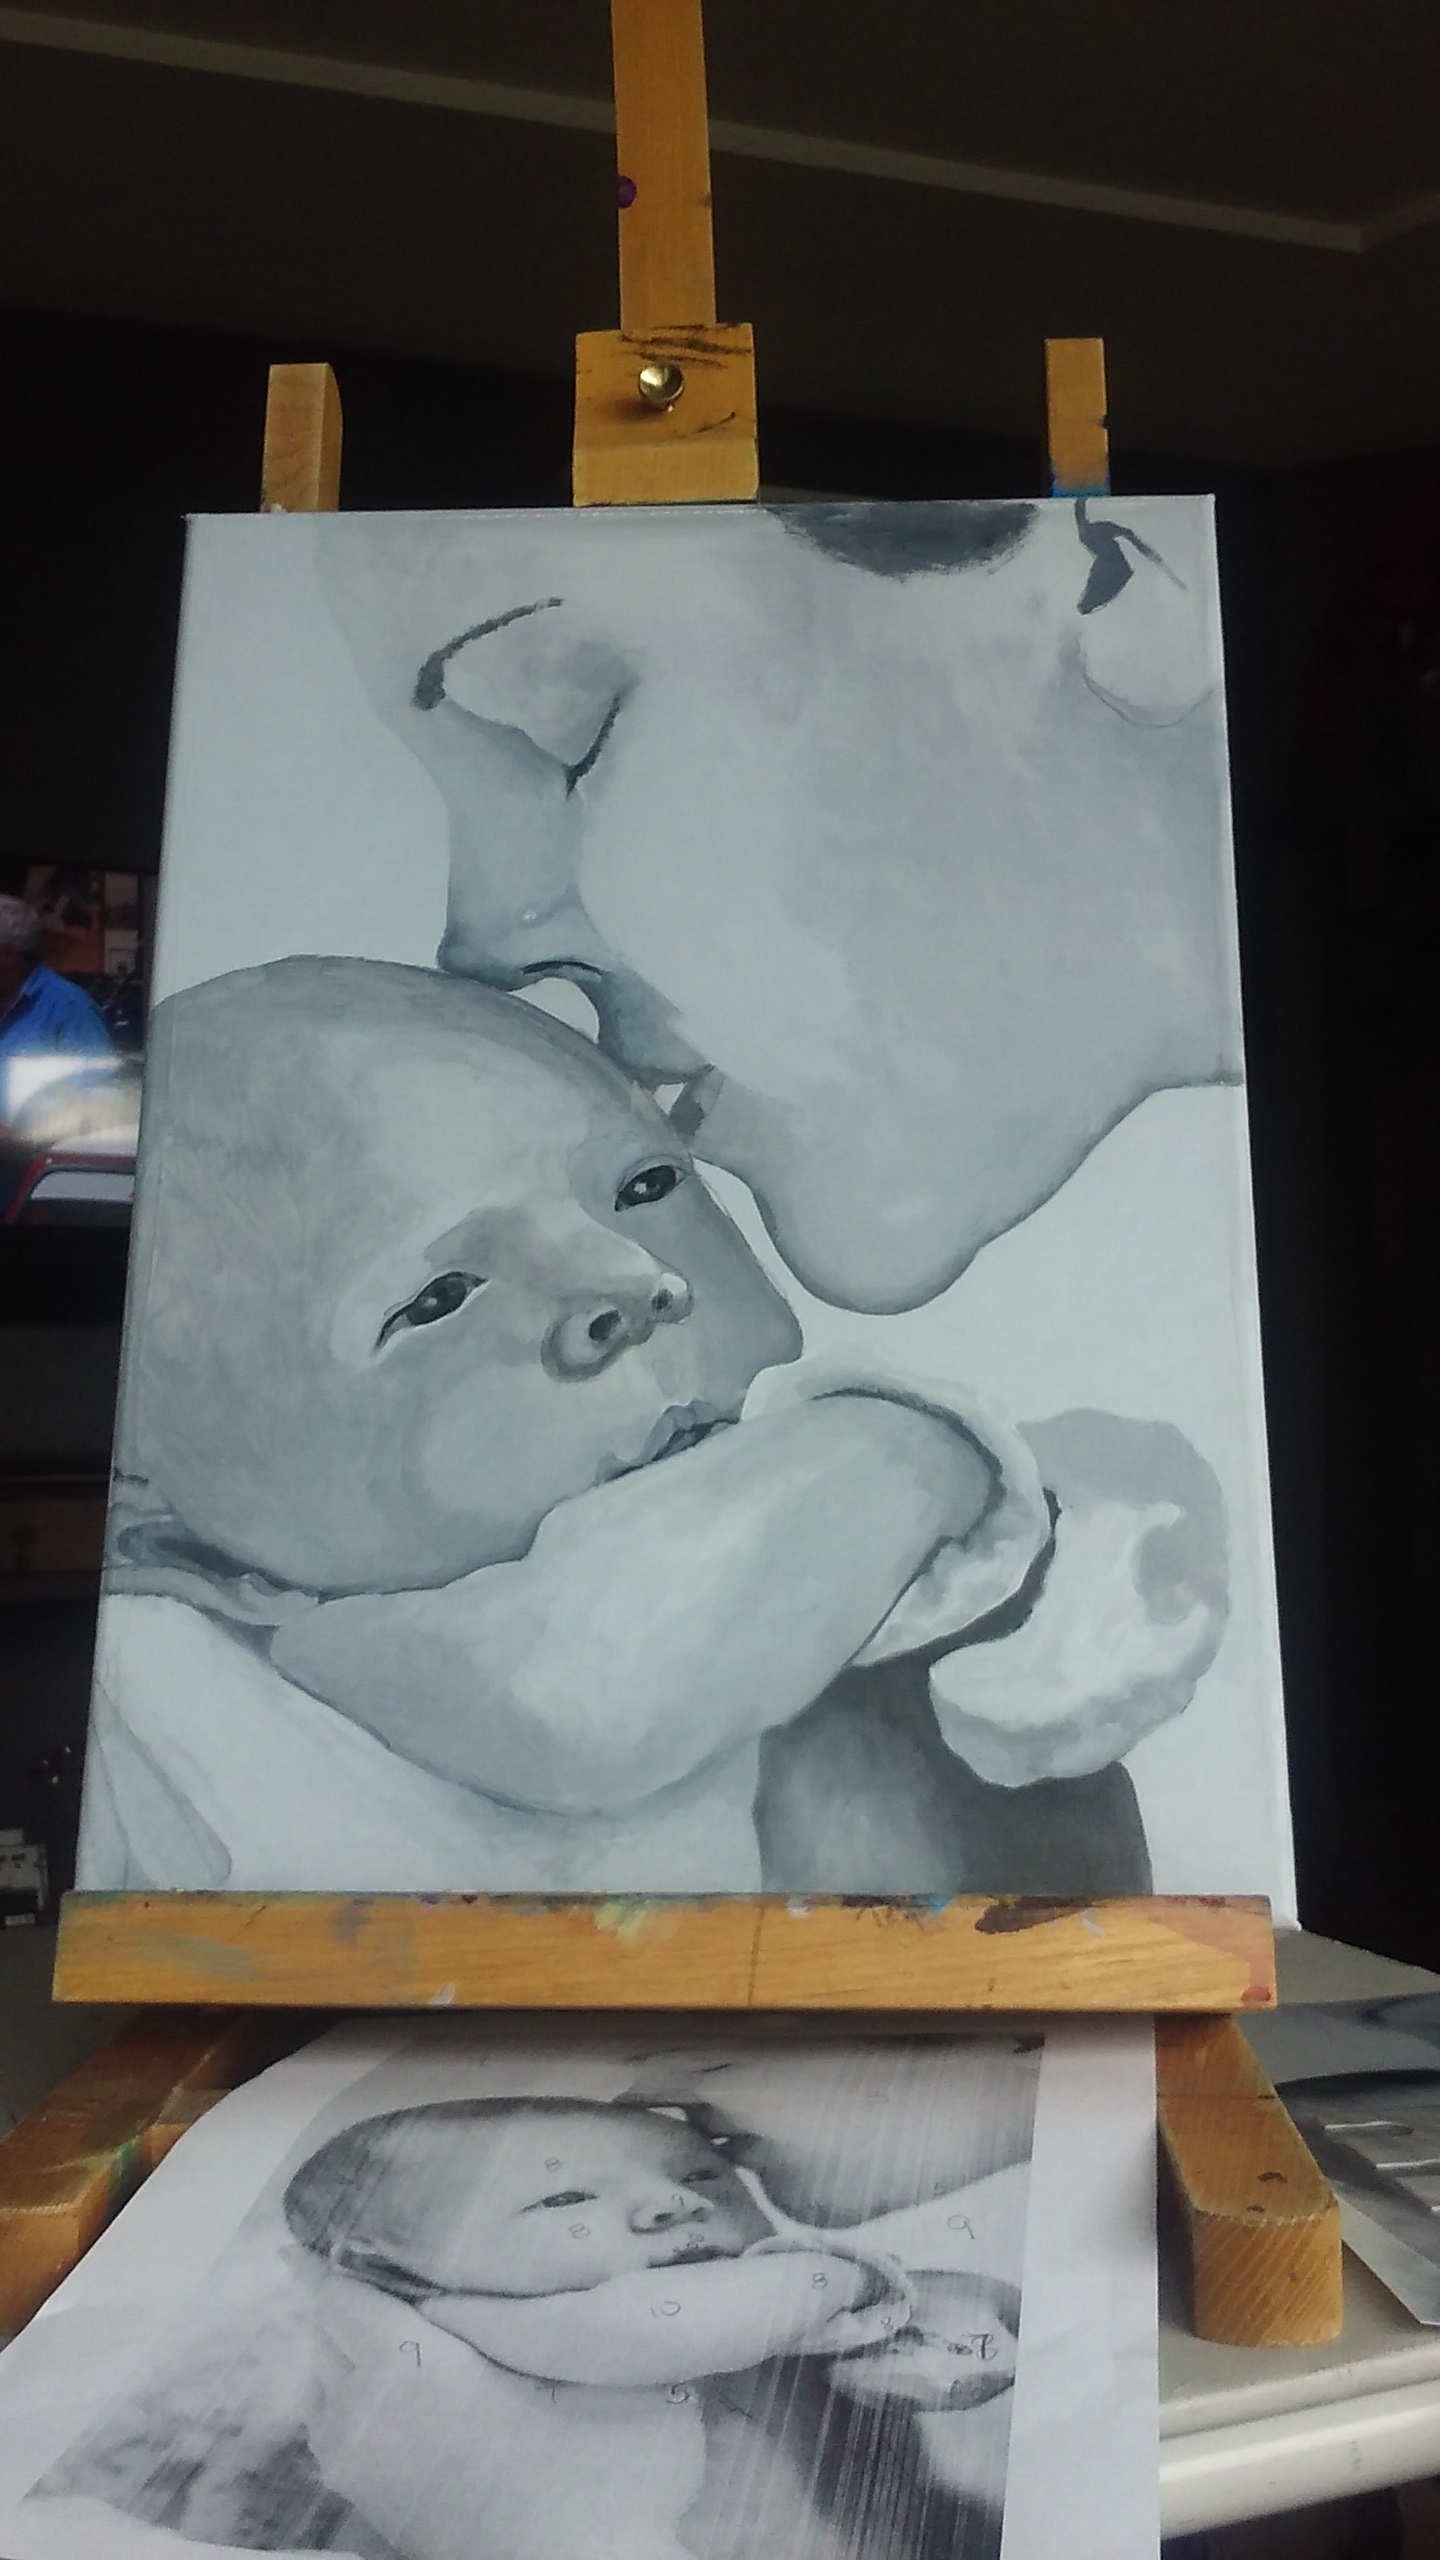
I loved this photo from the very first moment I saw it, as I do most of Naomi’s Photographs. This one is of my two grandsons so of course it had to become my next painting.
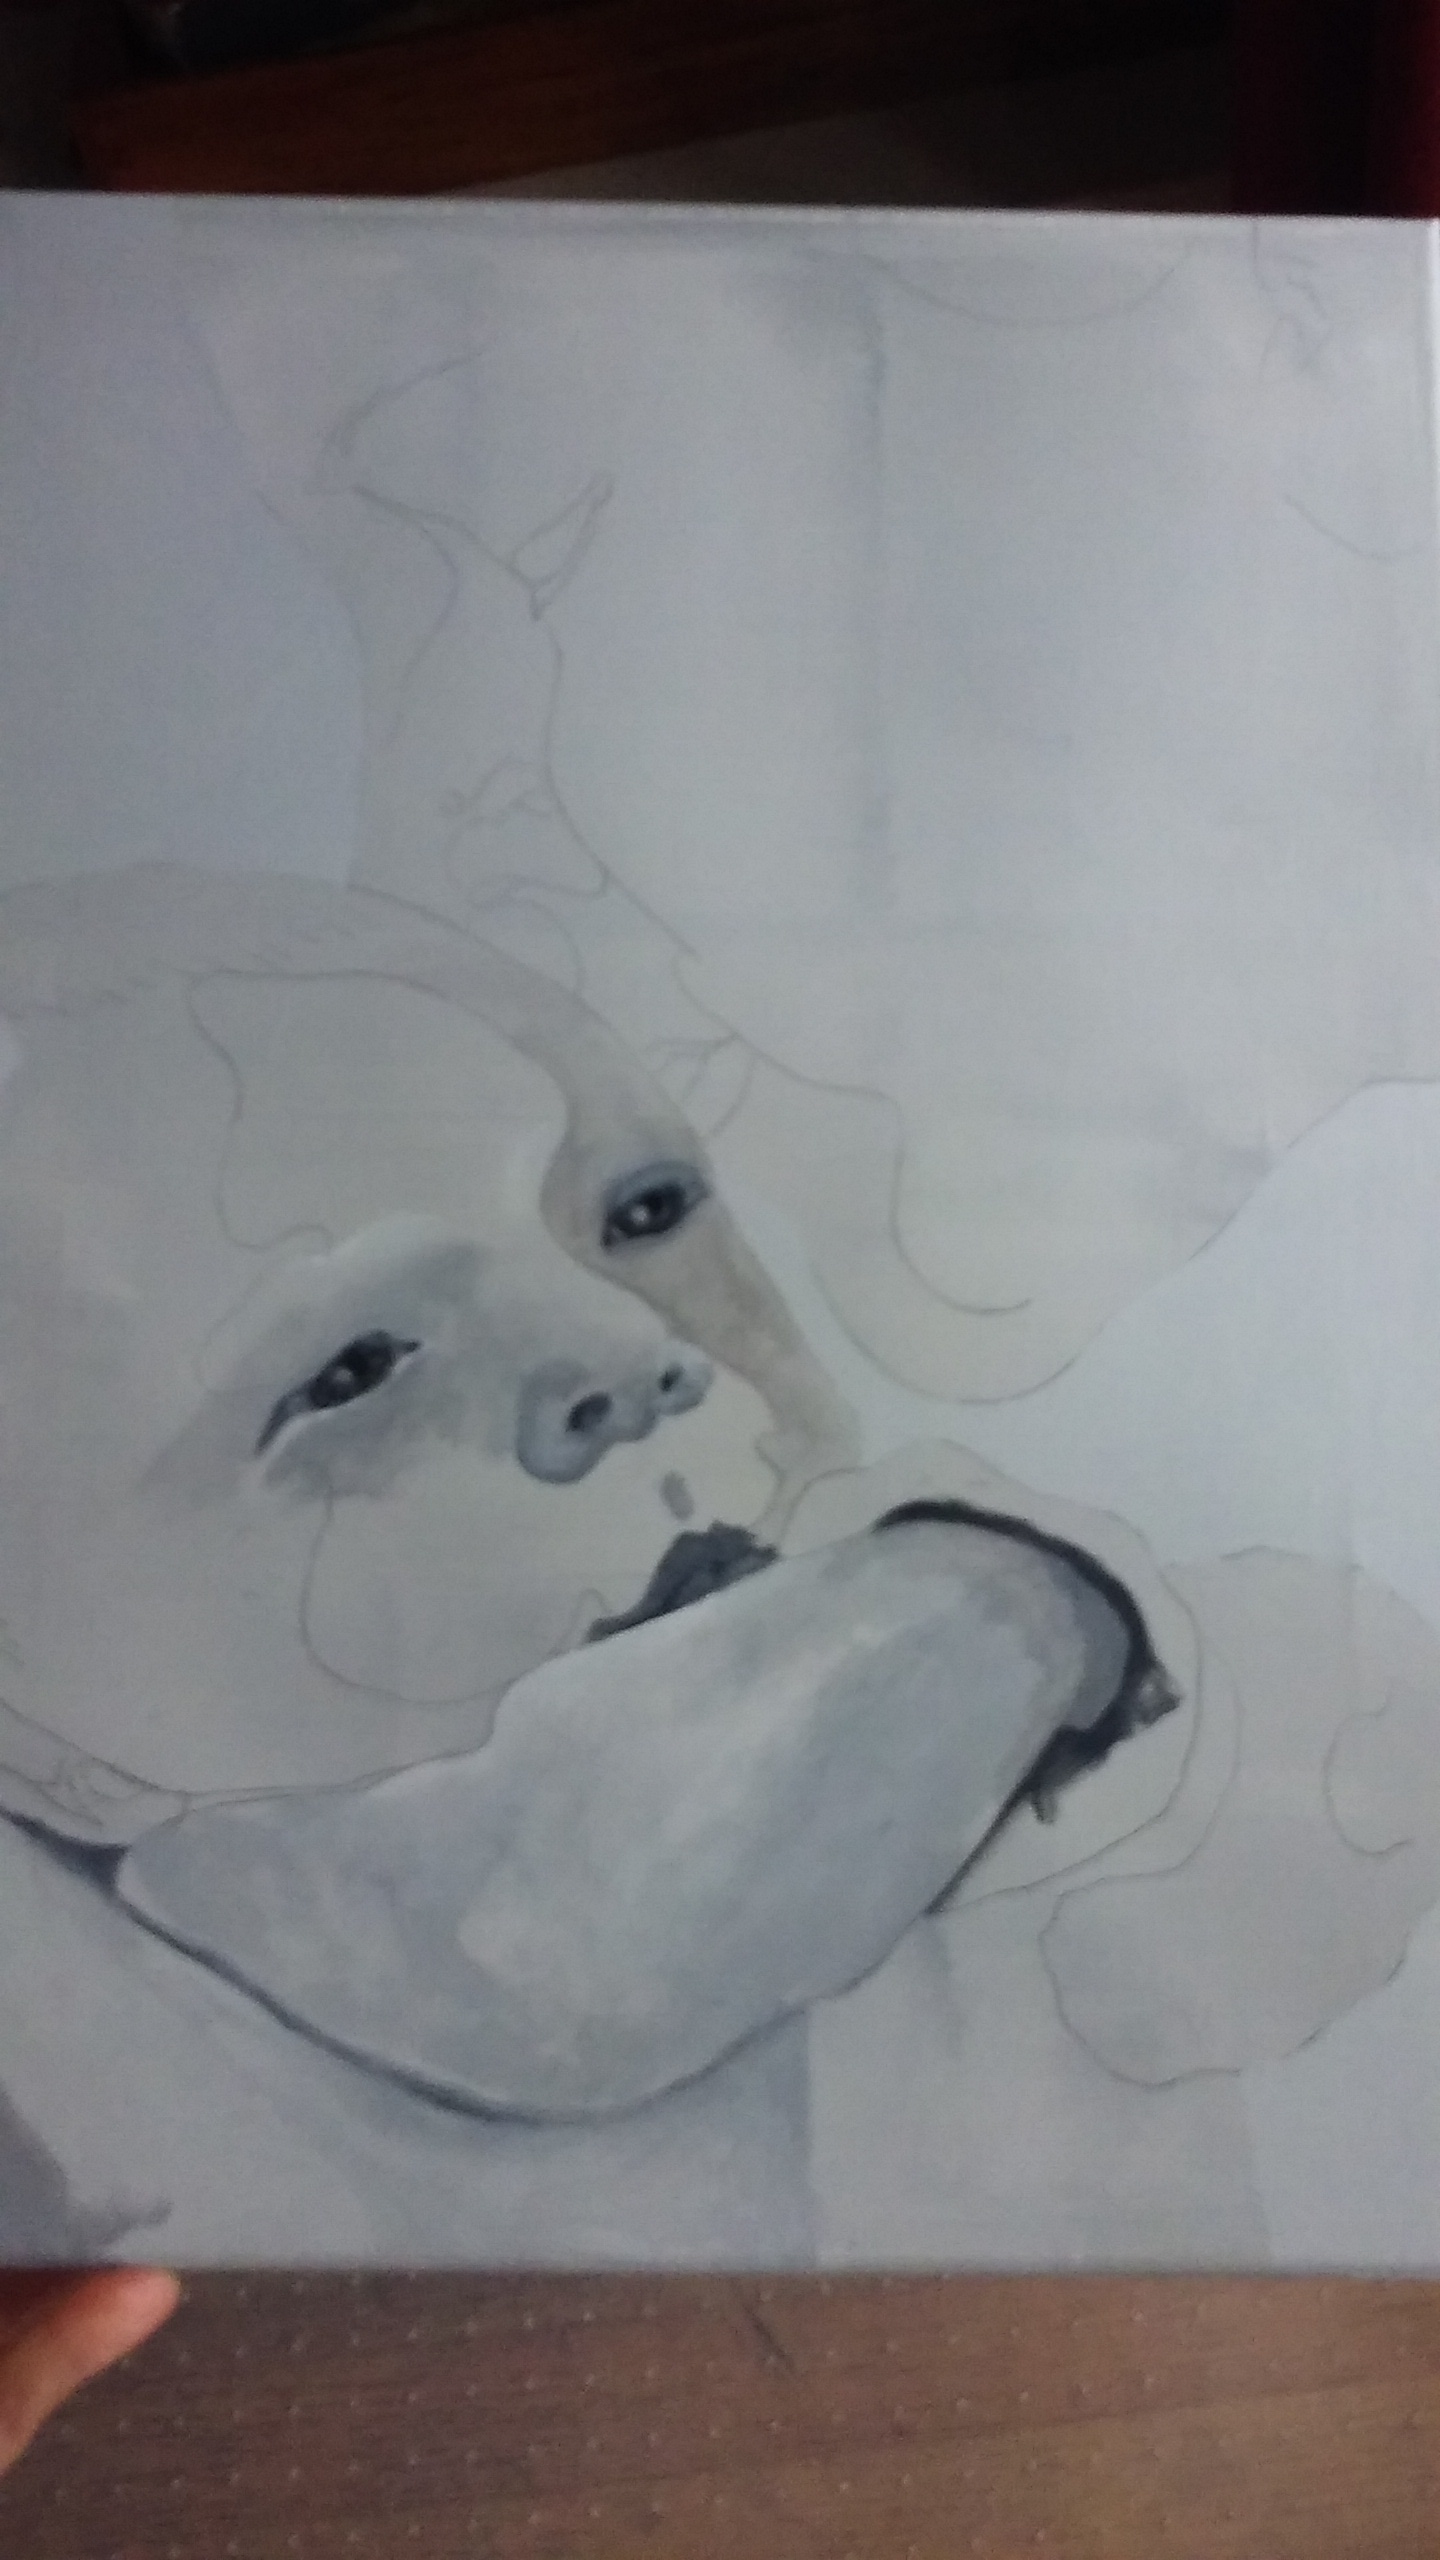
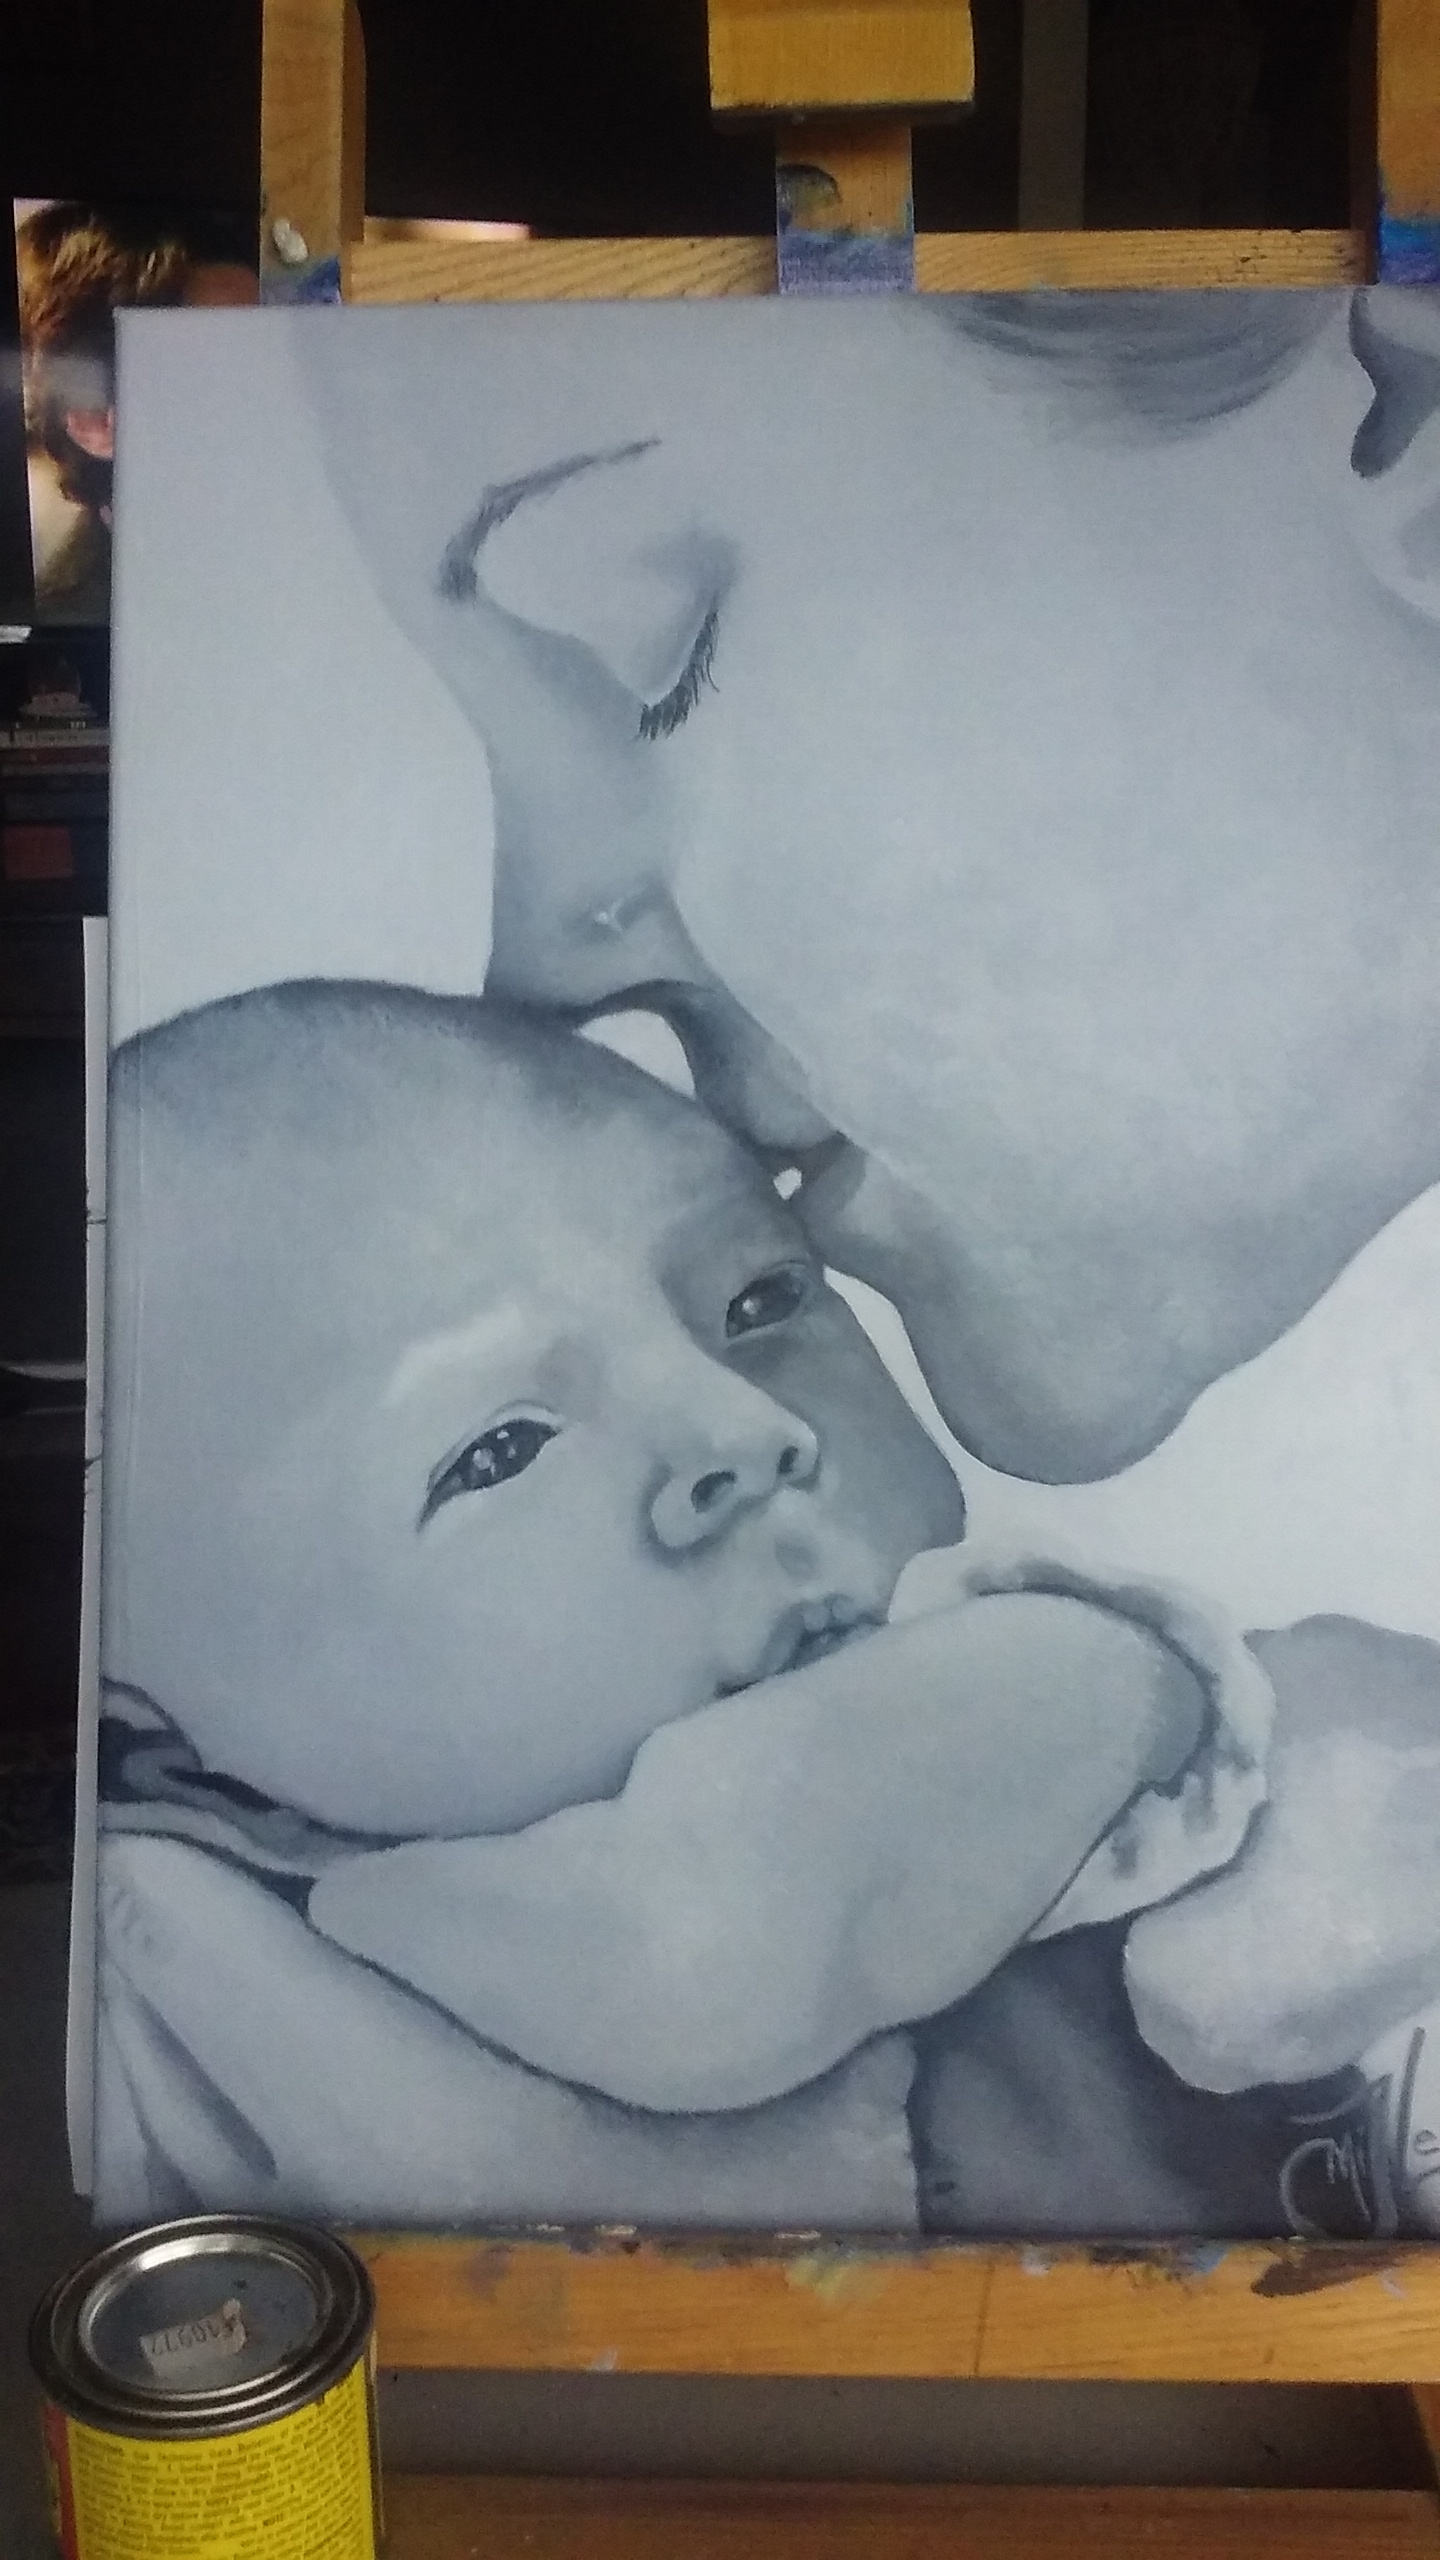
In this painting I was playing with focus. I wanted my detail on their little faces. Here I softly blended shadows and light to create more realistic features. But when it came to the clothing I painting with broad strokes because i wanted more to just indicate detail. When you stand back and look at this painting It looks almost like a photograph, But as you investigate closer you see the detail is a lot less clear in those clothing areas then in the faces.
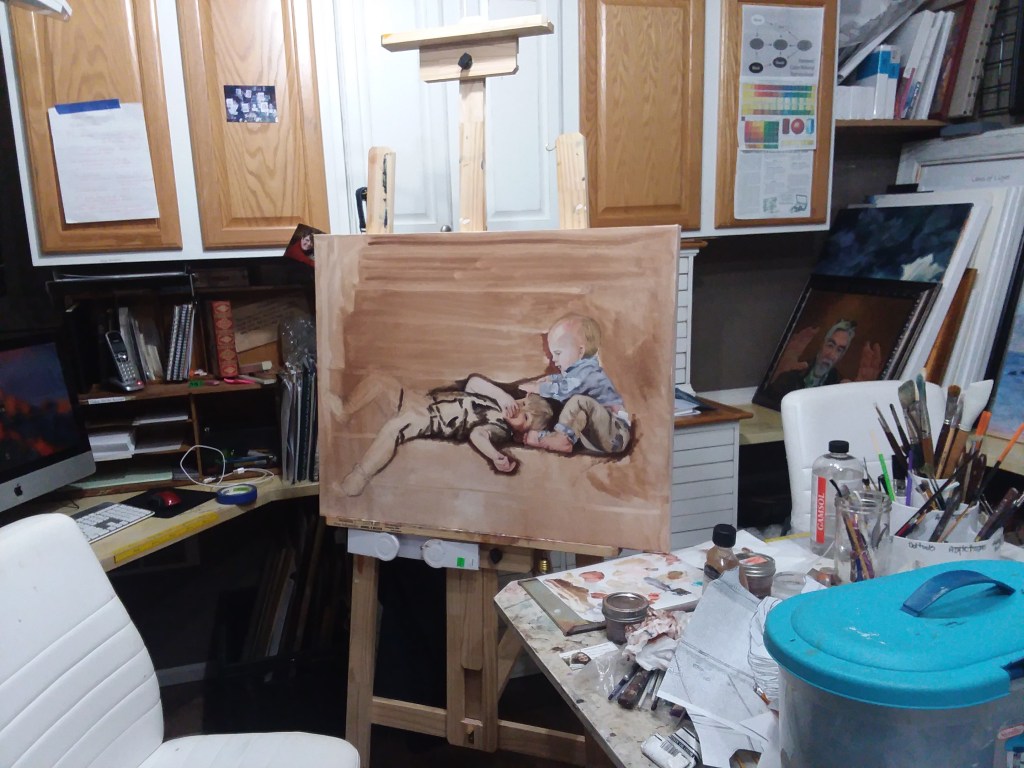
At first I painted from the reference just as it was. As I progressed I realized that something was wrong. Something was drawing my eyes away from the boys and that frustrated me. So I stopped painting on it for a couple of days to analyze it. It was troubling to me but I just couldn’t put my finger on the problem. The reference photo is so beautiful Just the way it is so what could be the problem?
A fellow artist/friend was over painting with me one day and so I asked her what she thought. She saw it right away.
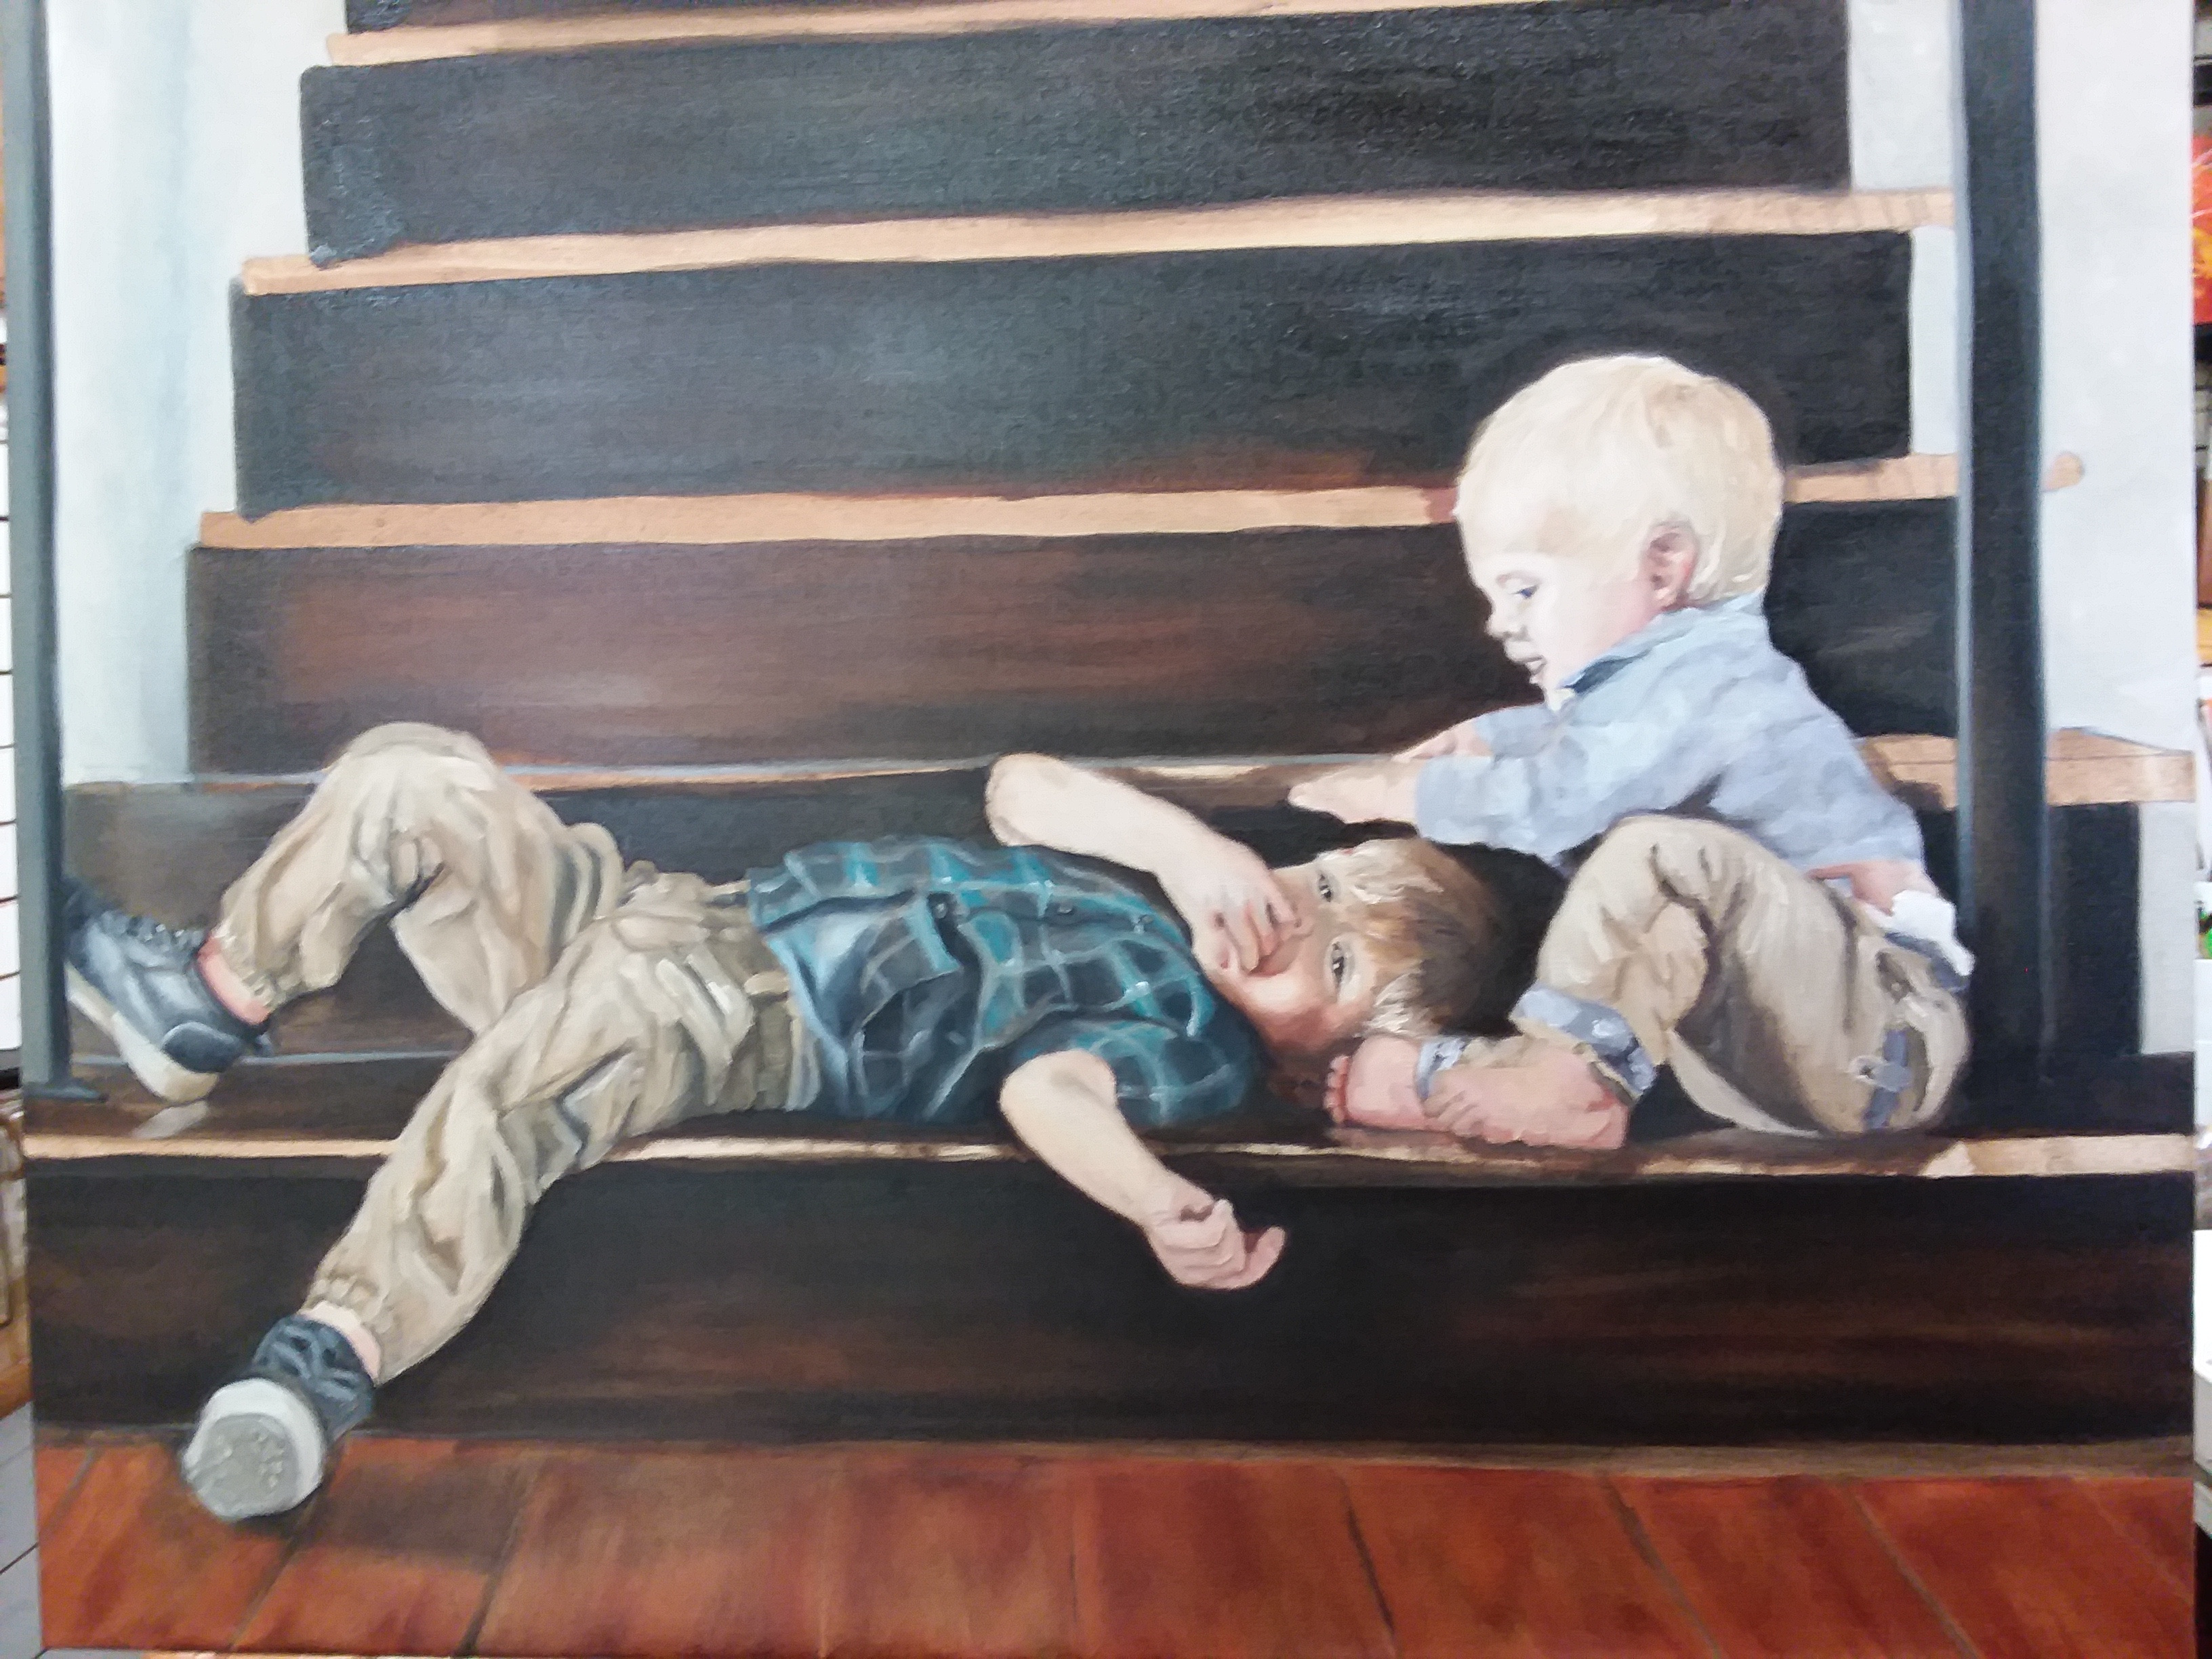
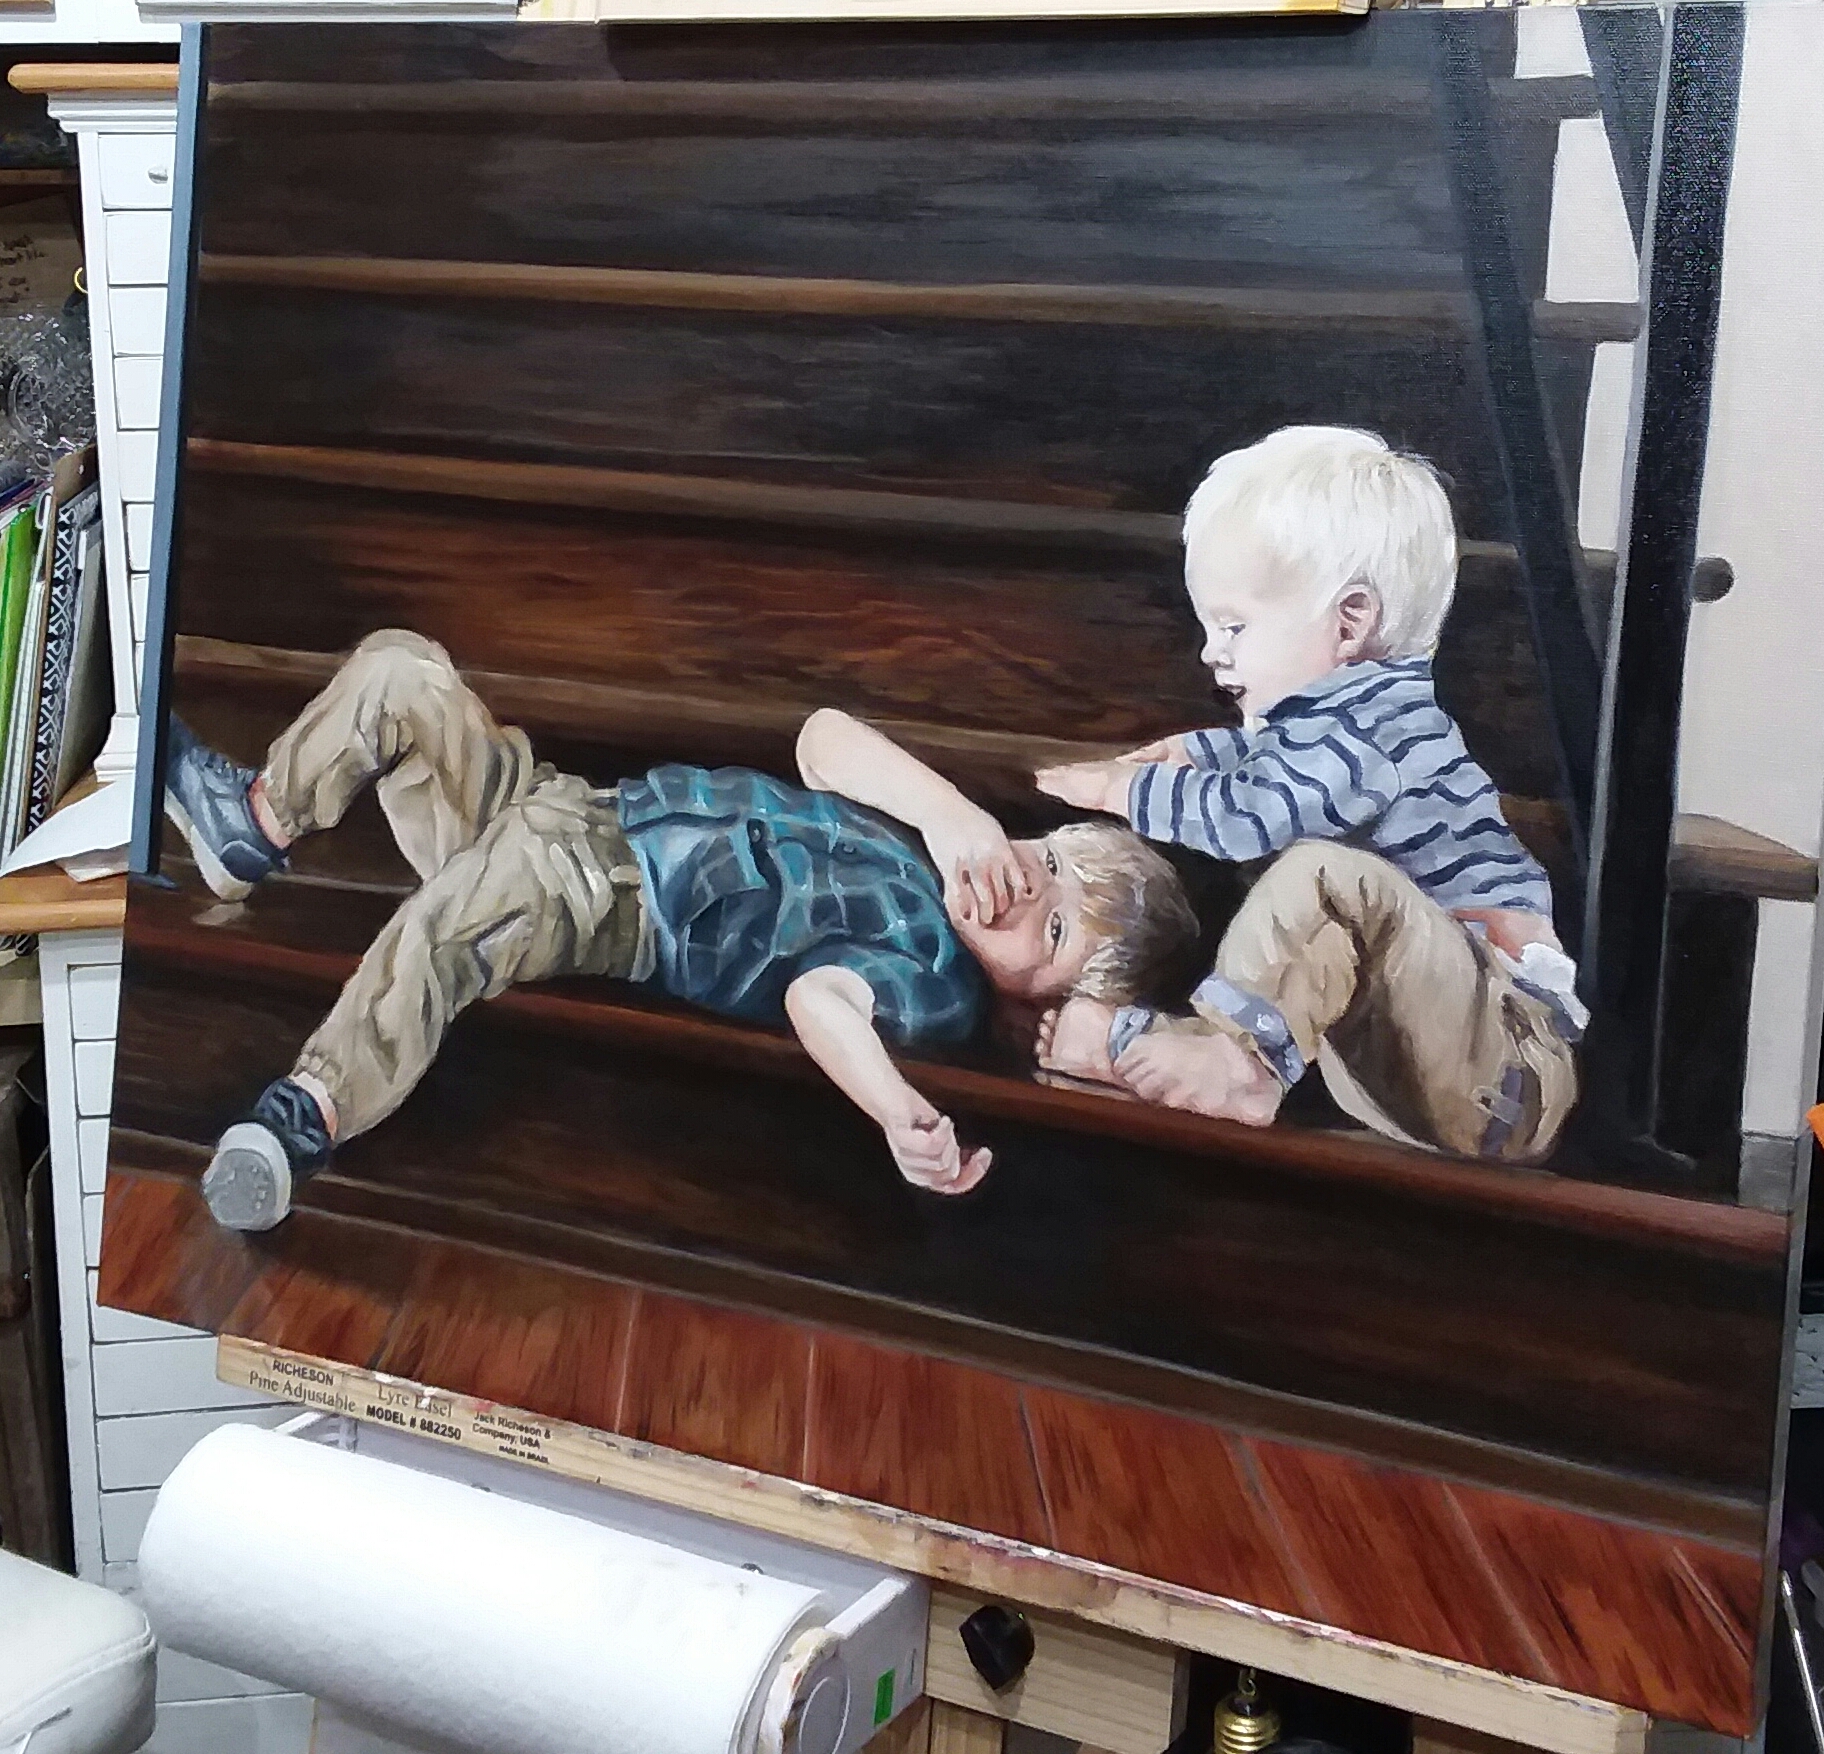
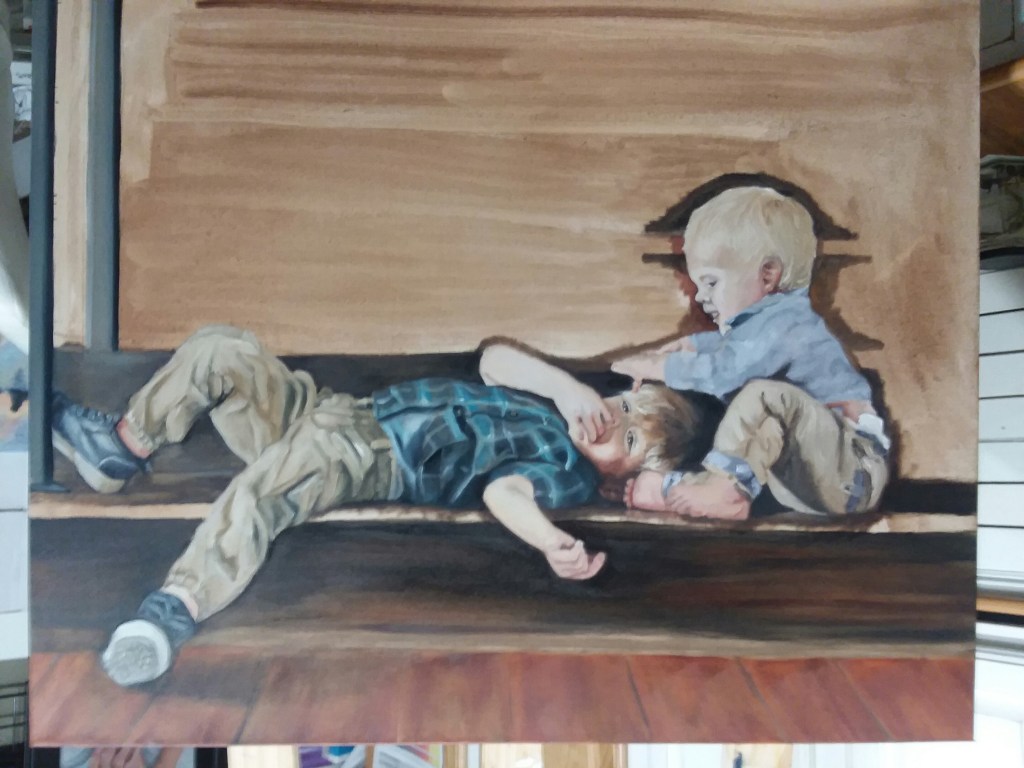
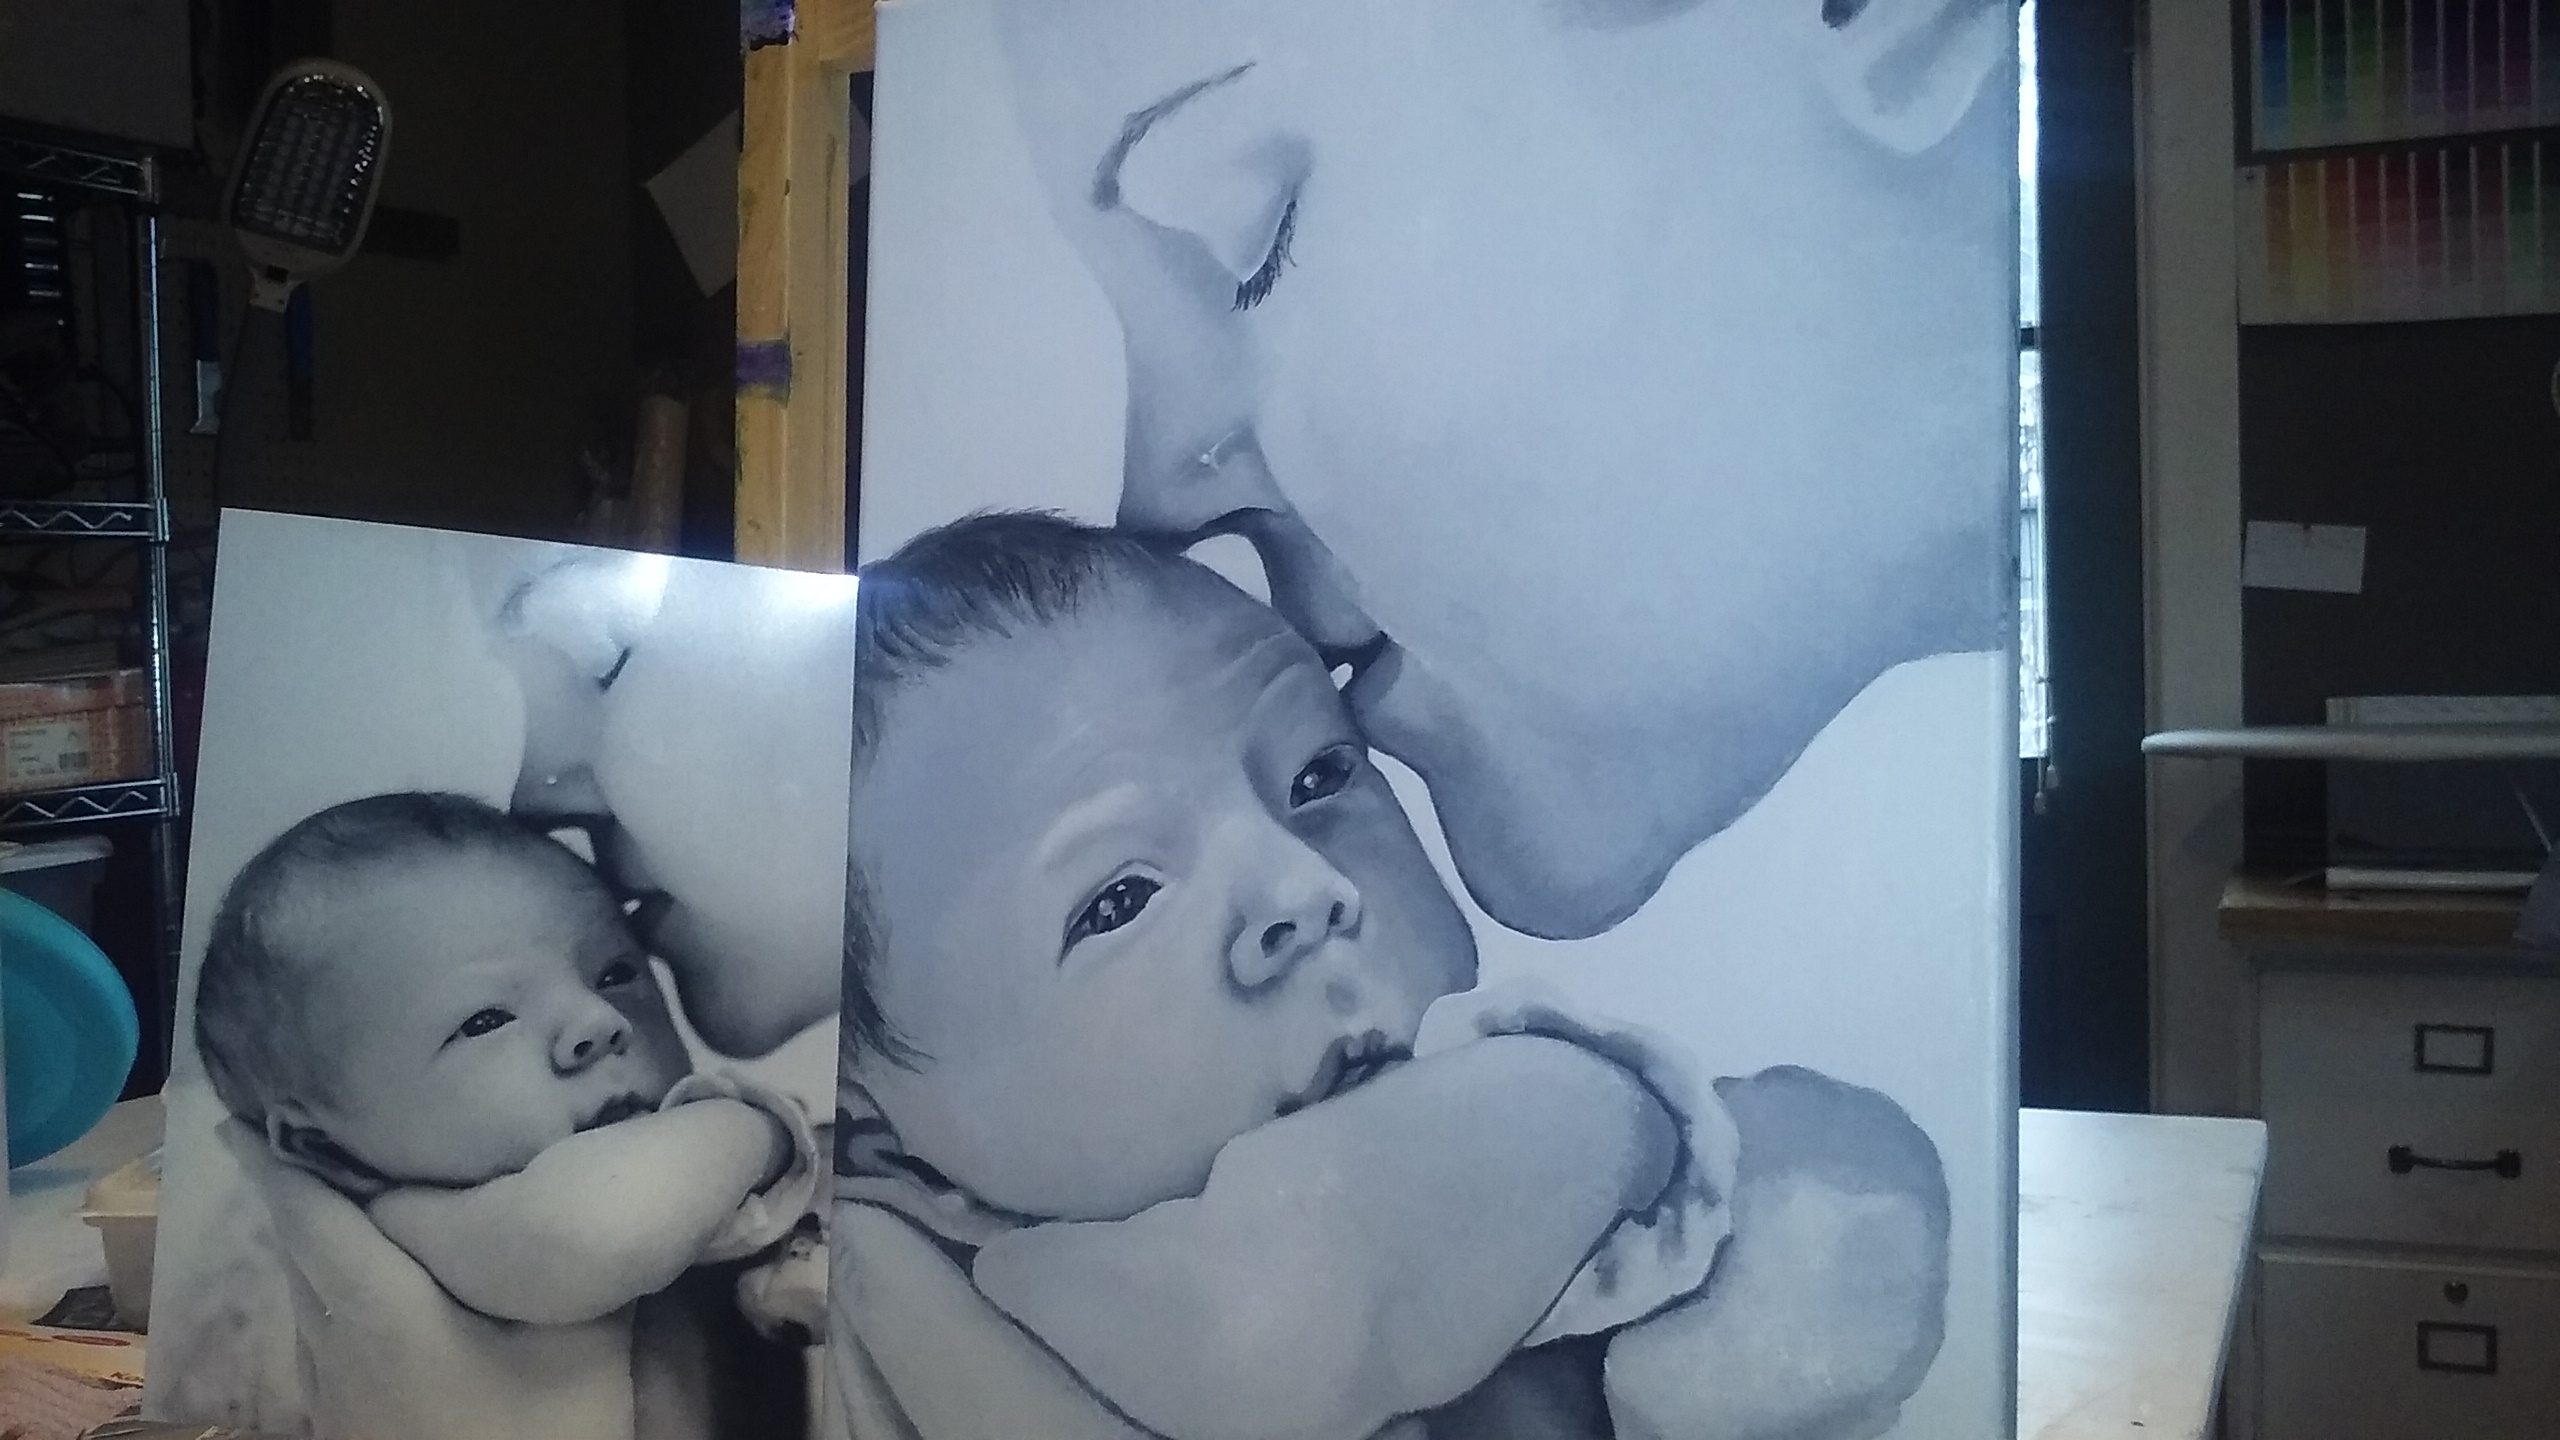
The problem was the large white spaces on either side of the stairs. You see the eye is naturally drawn to the point of greatest contrast. So the bright walls beside the dark stairs was a greater contrast than the boys skin against the stairs. She suggested that I modify the painting to remove the wall on the left, taking the steps all the way to the edge of the painting. This would draw the eye to the right side where I wanted it. Her suggestion was right on and it worked perfectly. You can slide the arrows on the images back and forth to see the difference it made.
I had so much fun working on the wood grain and the reflections in the shinny floor and steps. Also as you can see in the top right photo of the completed painting, I darkened the wall on the right so it would not compete with the boys as center of attention.
The thing I’ve learned most from this process over the years is that there is a big difference between what makes a good photograph and what translates well into a great painting. I love this reference photo. It’s perfect. I look at it and I see only my grandsons. But when translating it into a painting I had to create an allusion that would draw your attention to exactly where I wanted you to look.
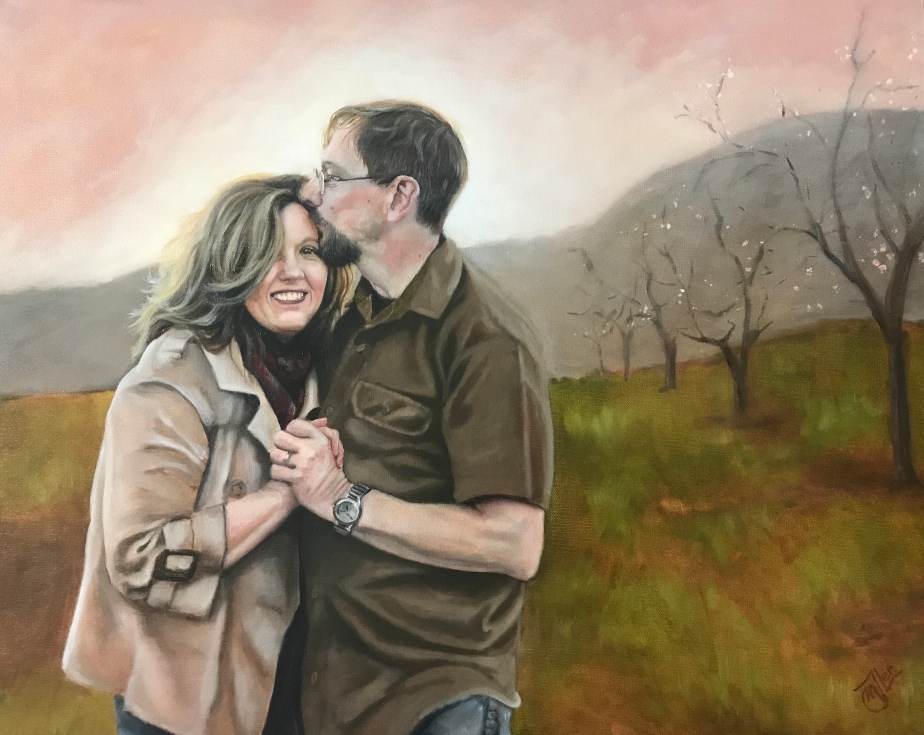
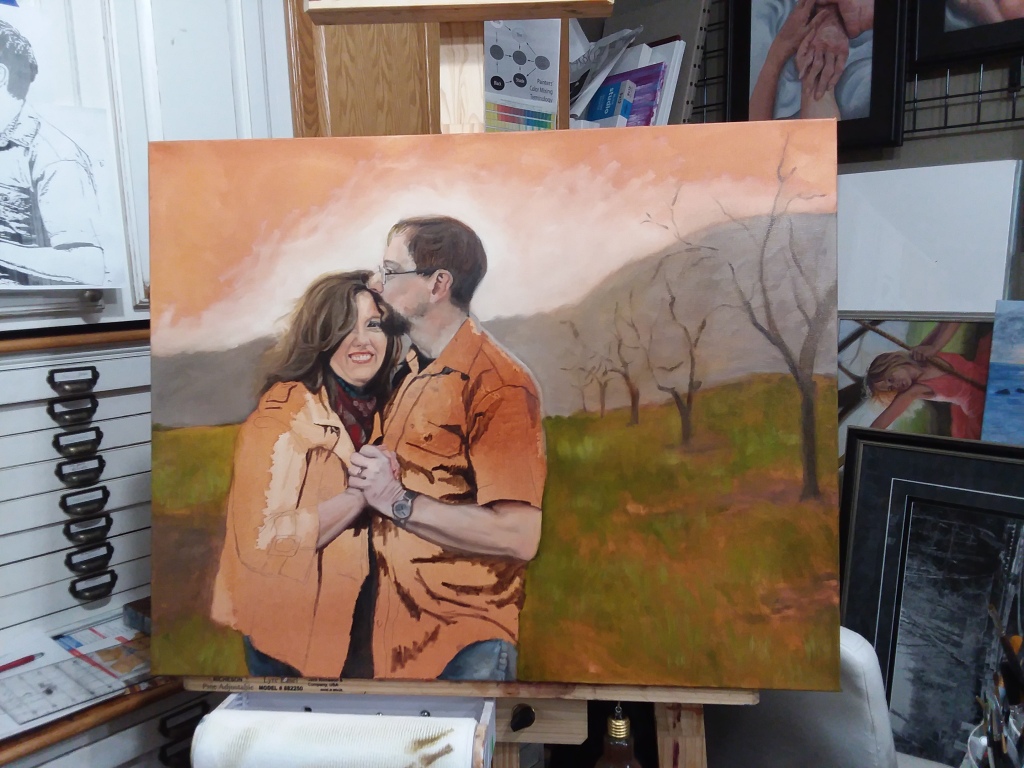
So NOTE TO ARTISTS as an artist feel free to edit and change what is in front of you. Add and take away items to tell the story that you want told. If you are painting a landscape and there are electric lines in your view but you want to convey a cleaner more peaceful scene, take them out. Or if the is a great tree far away from a barn you want to paint. Move that tree to where it will tell your story best.
Please feel free comment below or contact me on the contact page if you have any questions about this blog or you would like to chat about having your own commissioned painting done.
Special Thanks for Reference Photo By Naomi Vacaro
Don’t forget to follow me on:
Newsletter
Subscribe to my email newsletter full of inspiring stories about my journey that continues.
Designed with WordPress.com


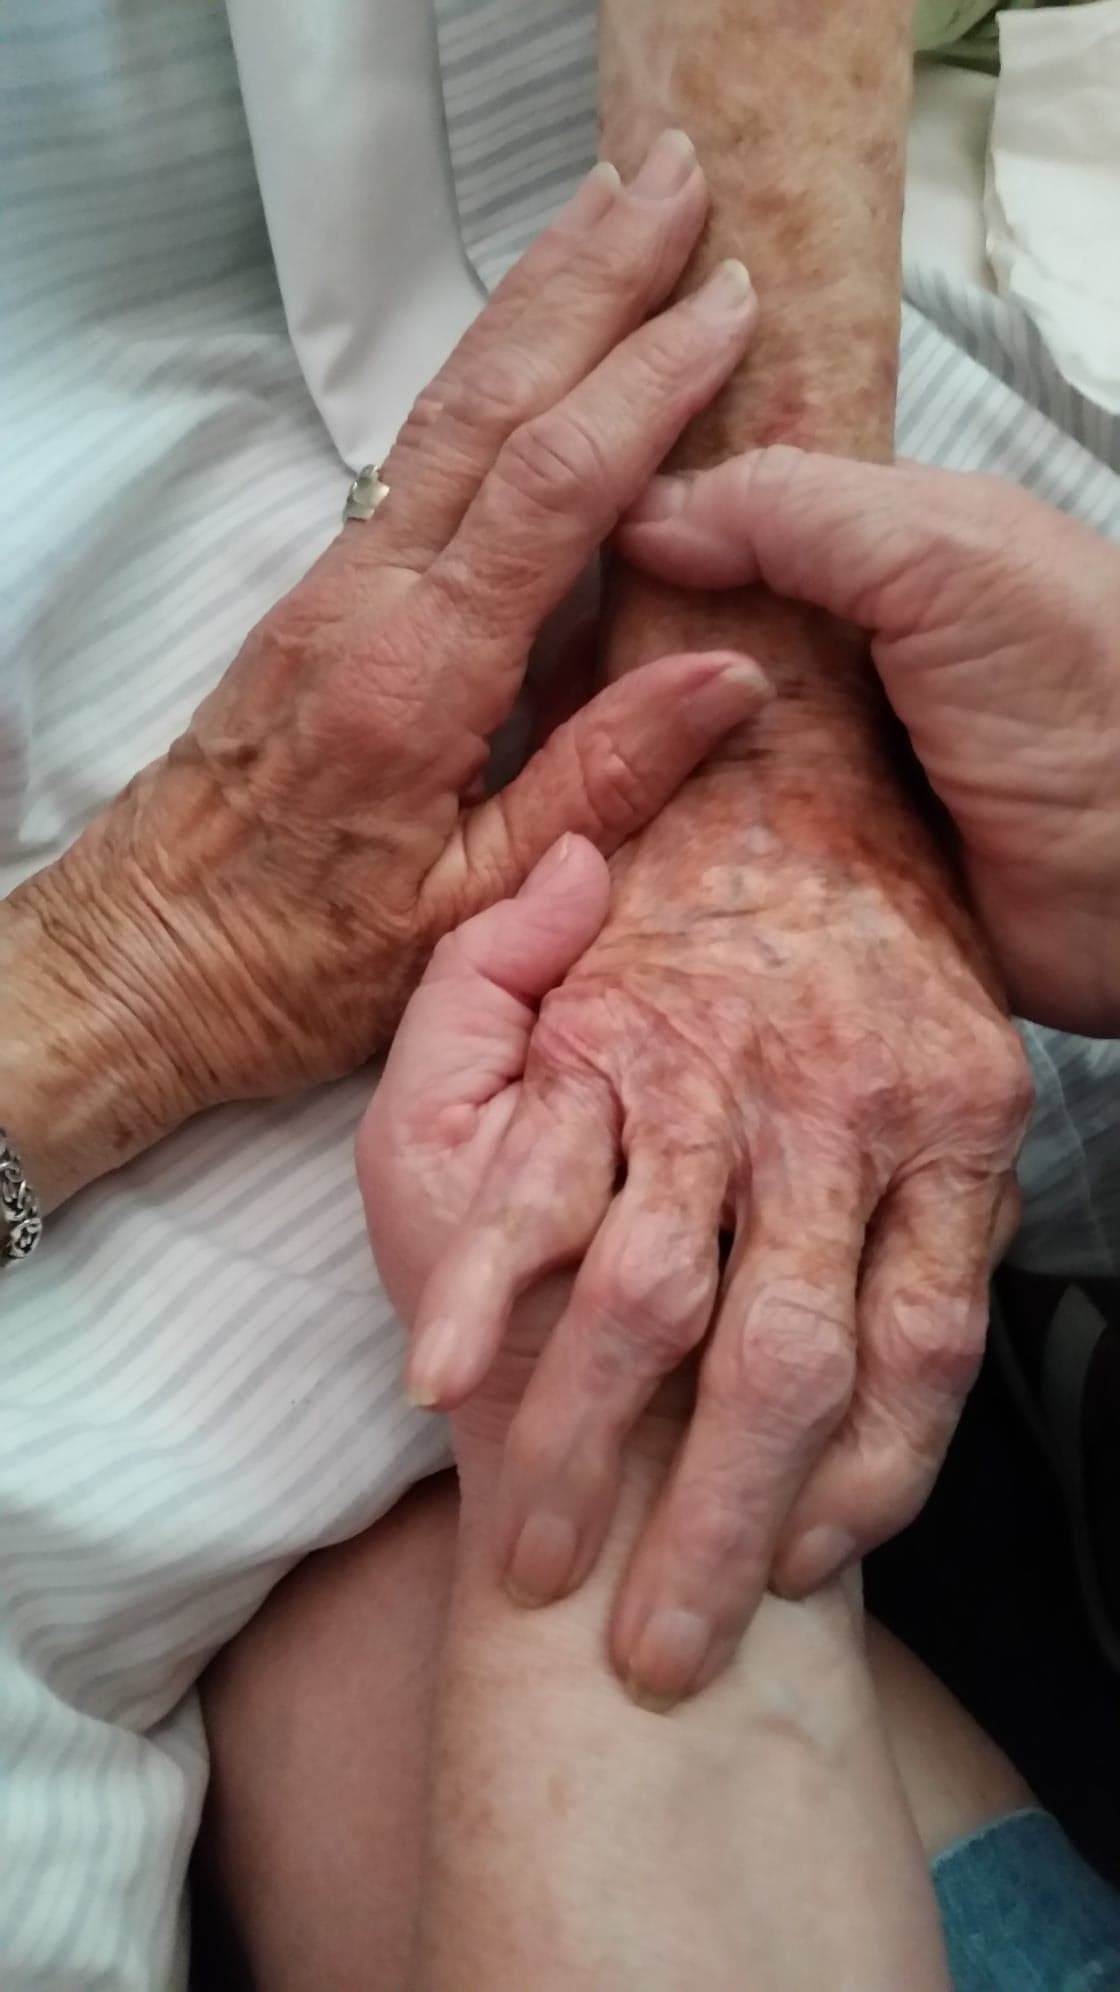


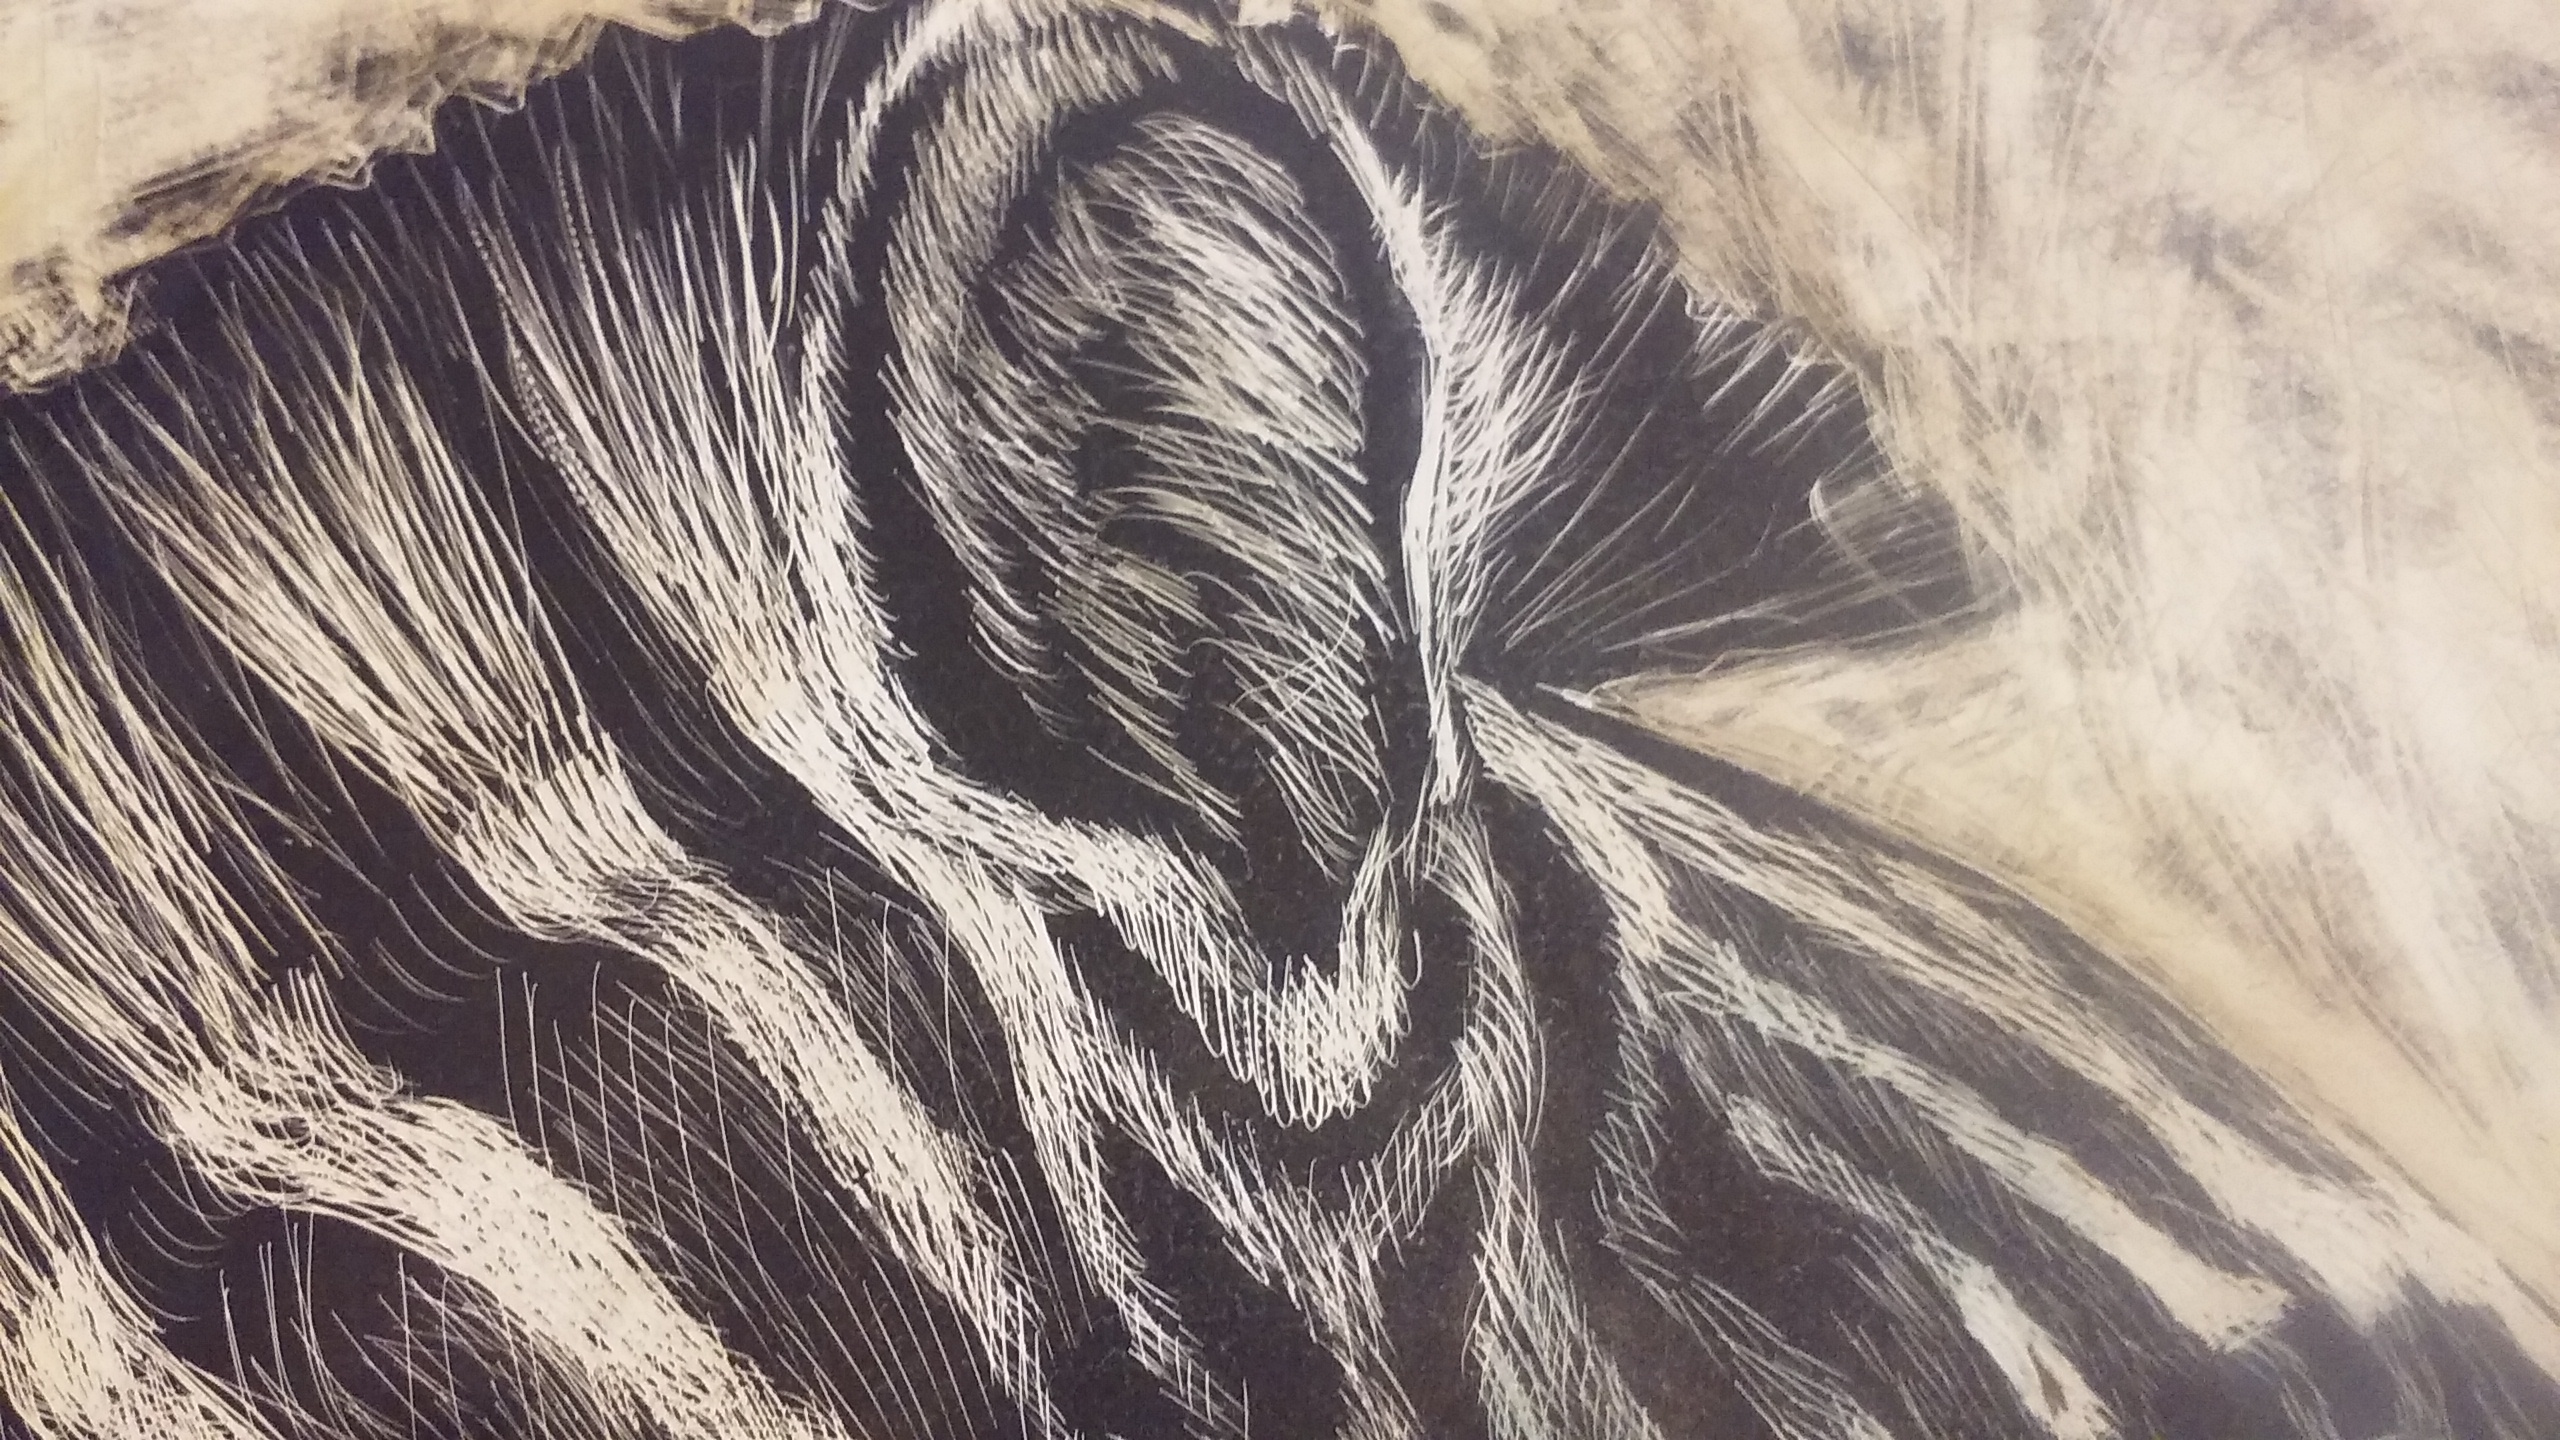
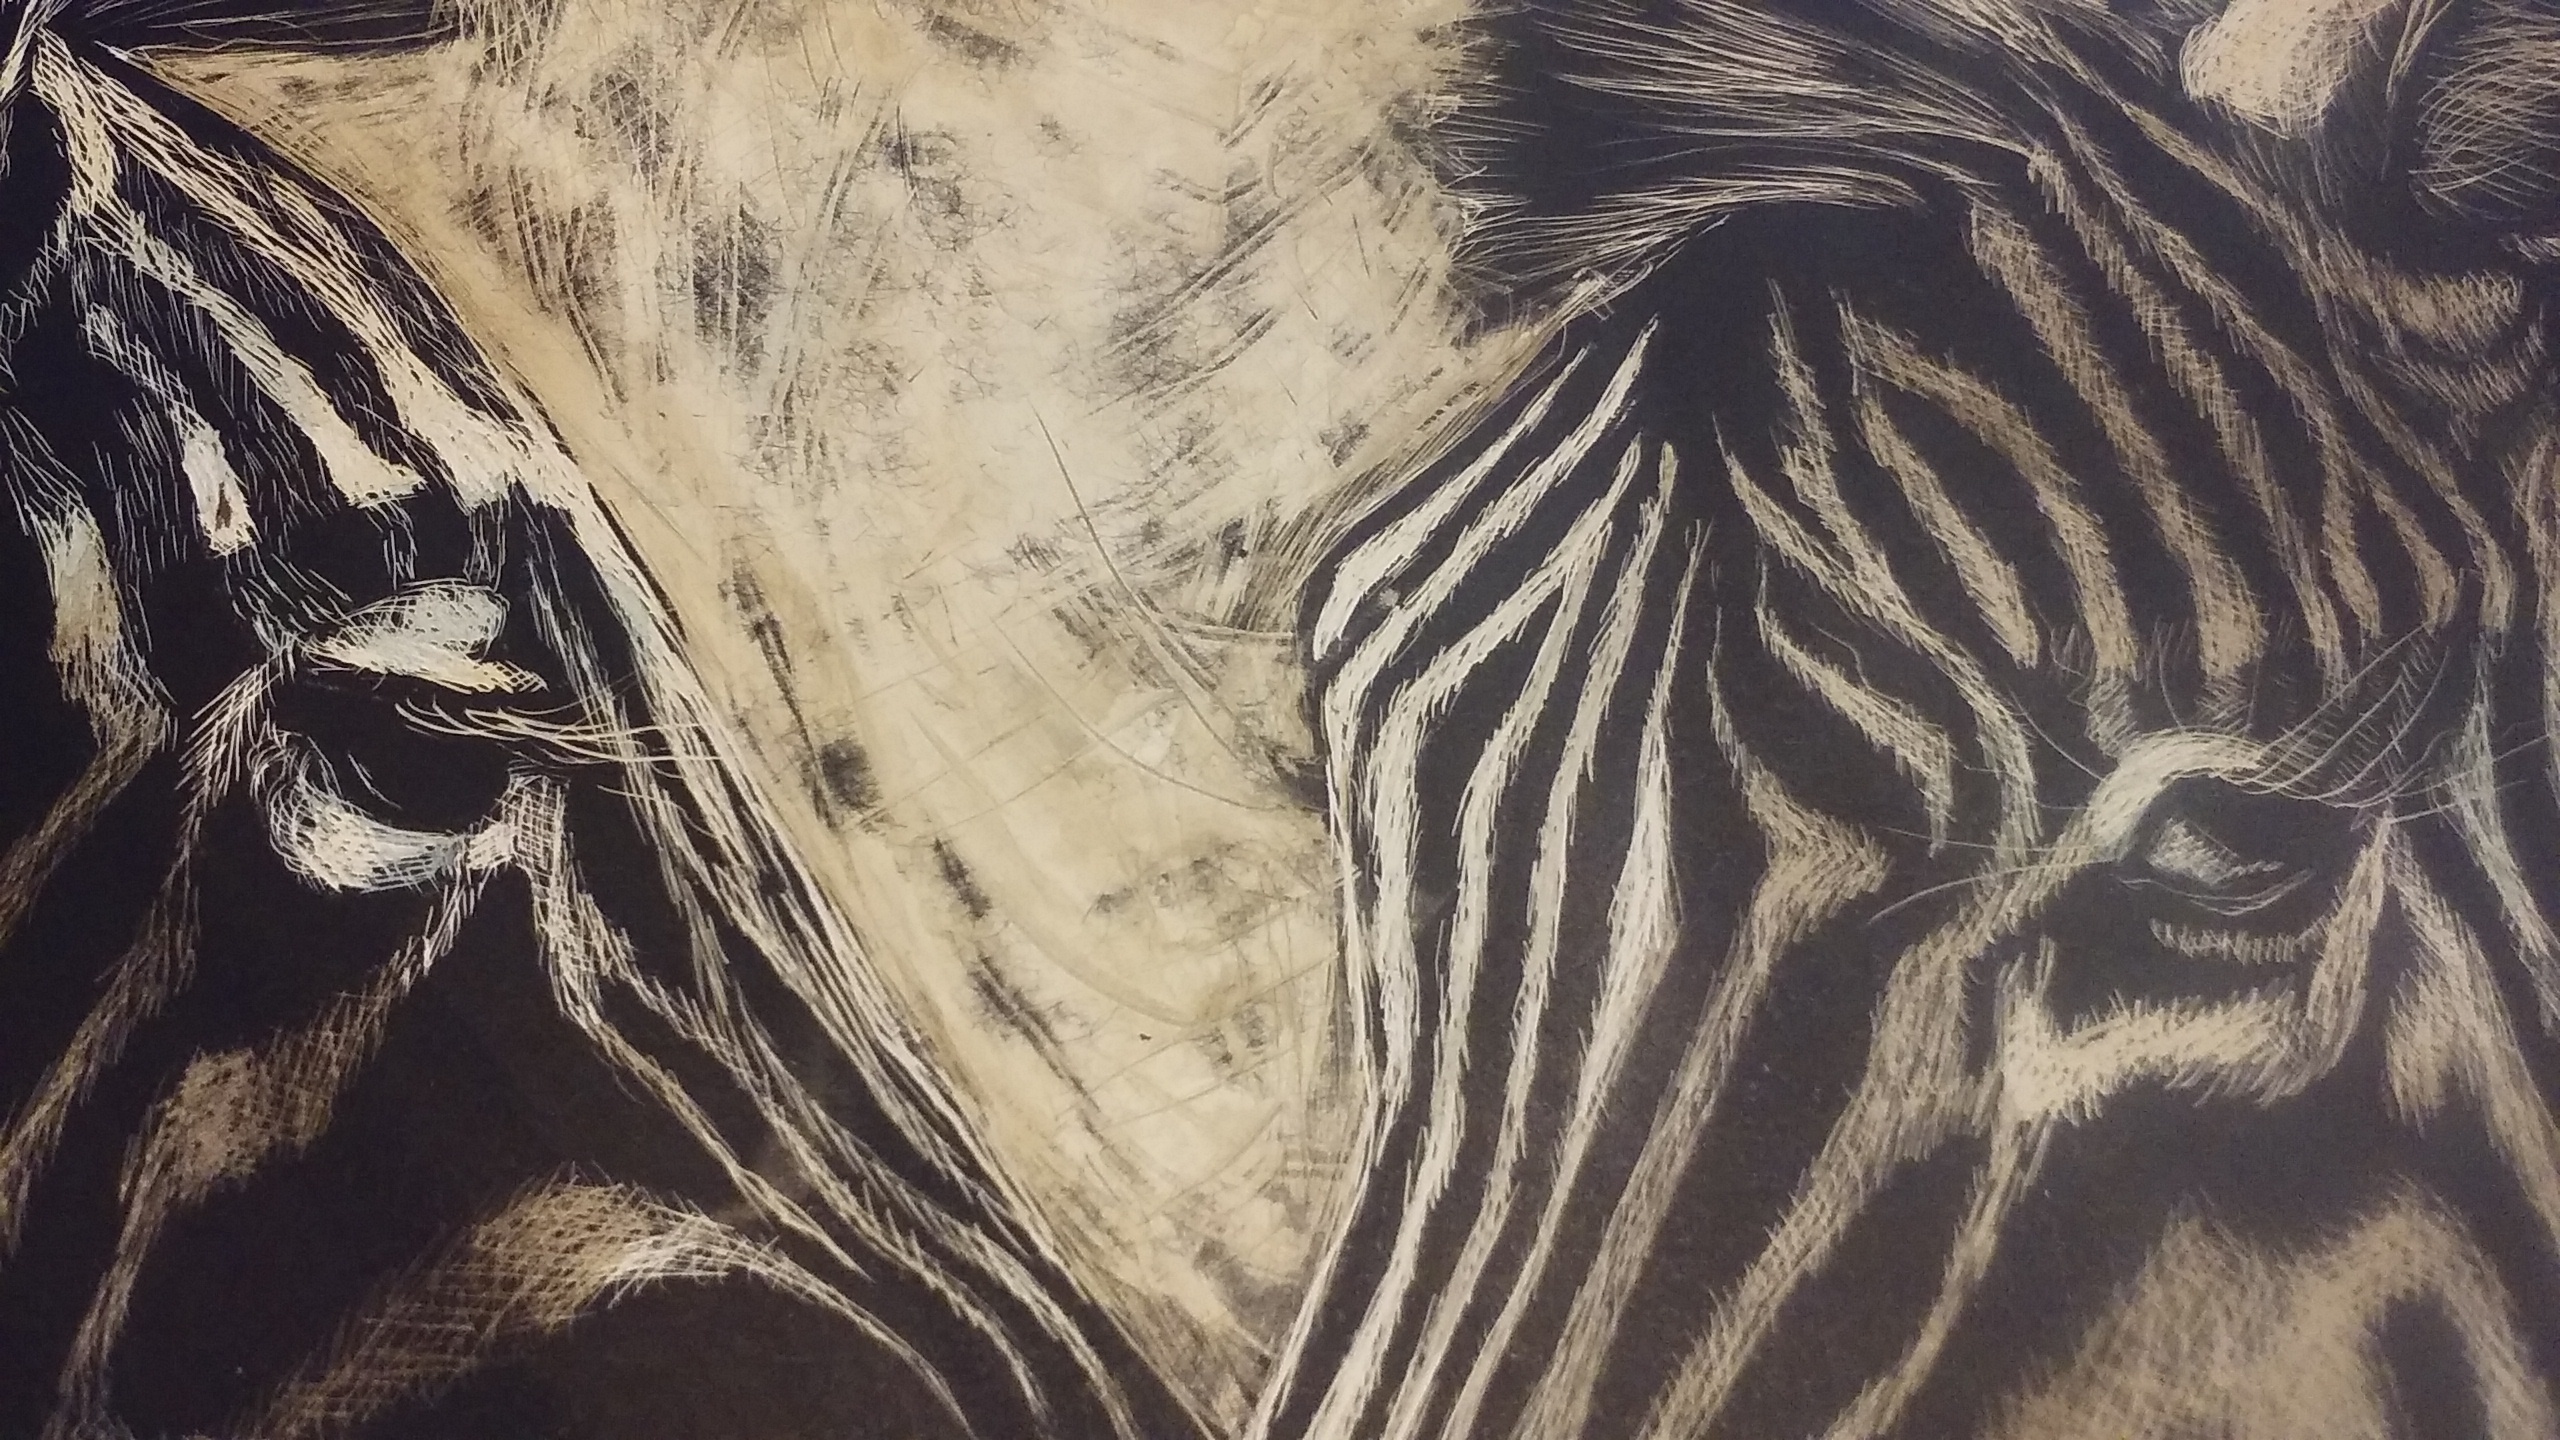
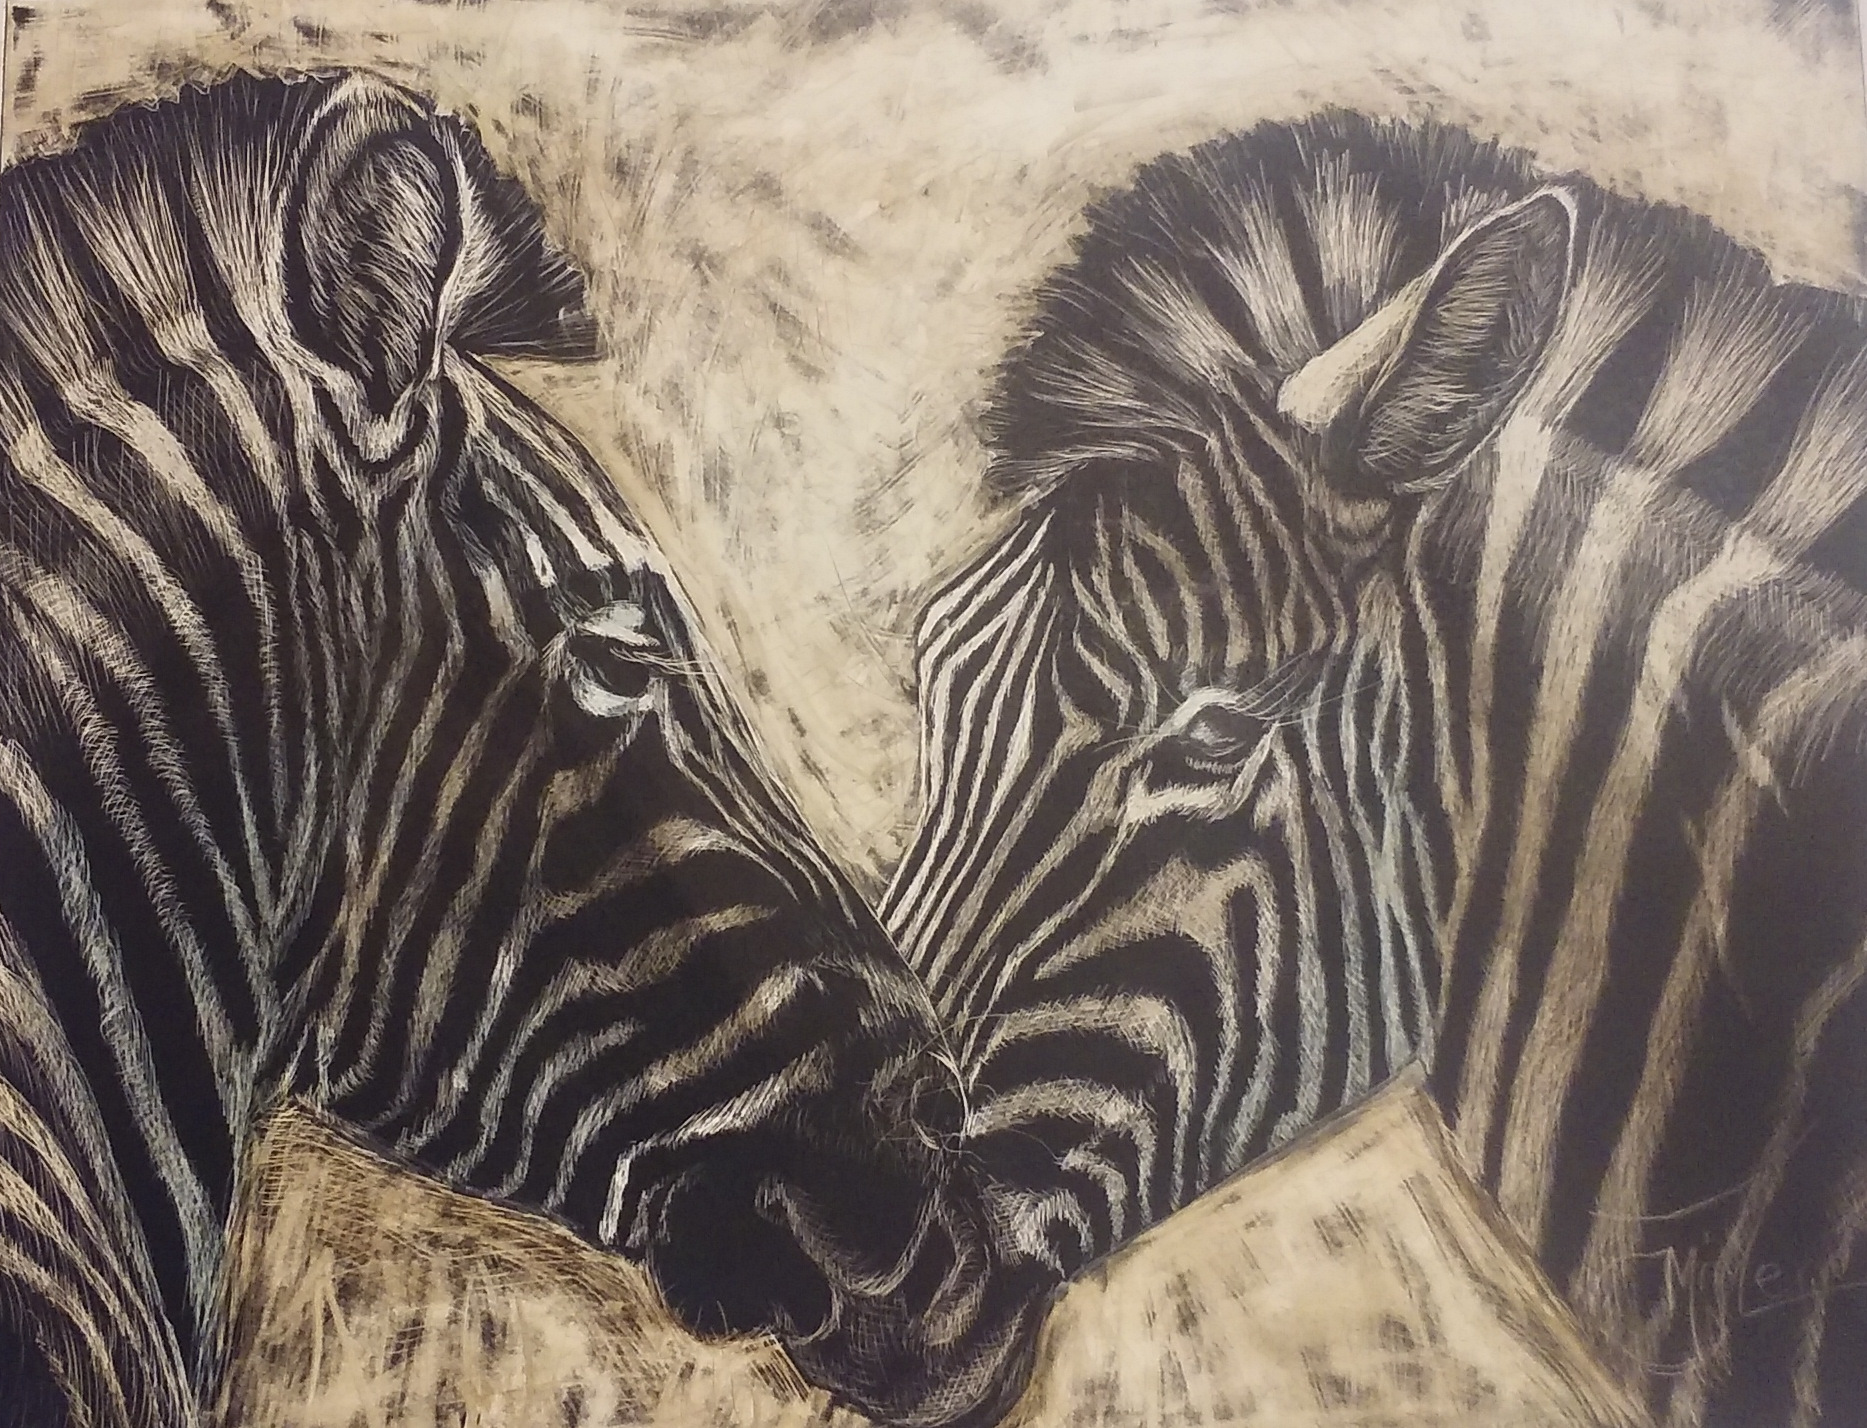
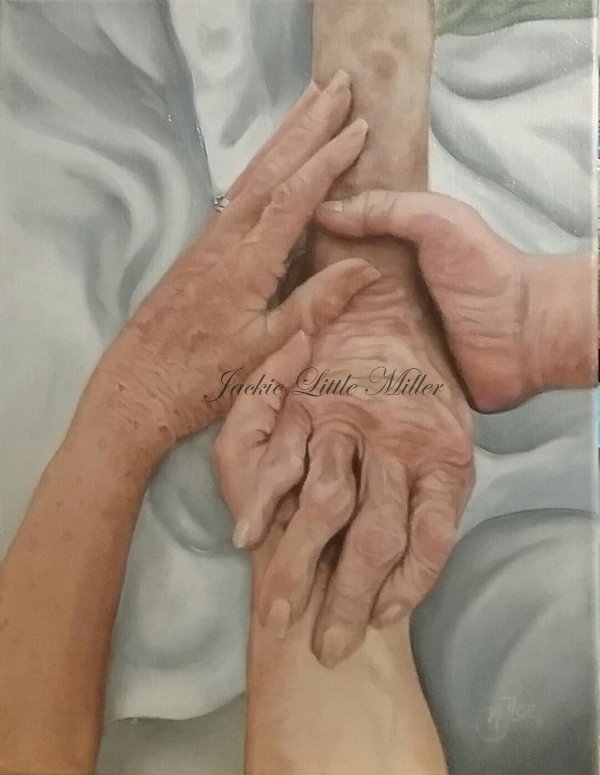 “Last Goodbye” From the Ecc.3 series


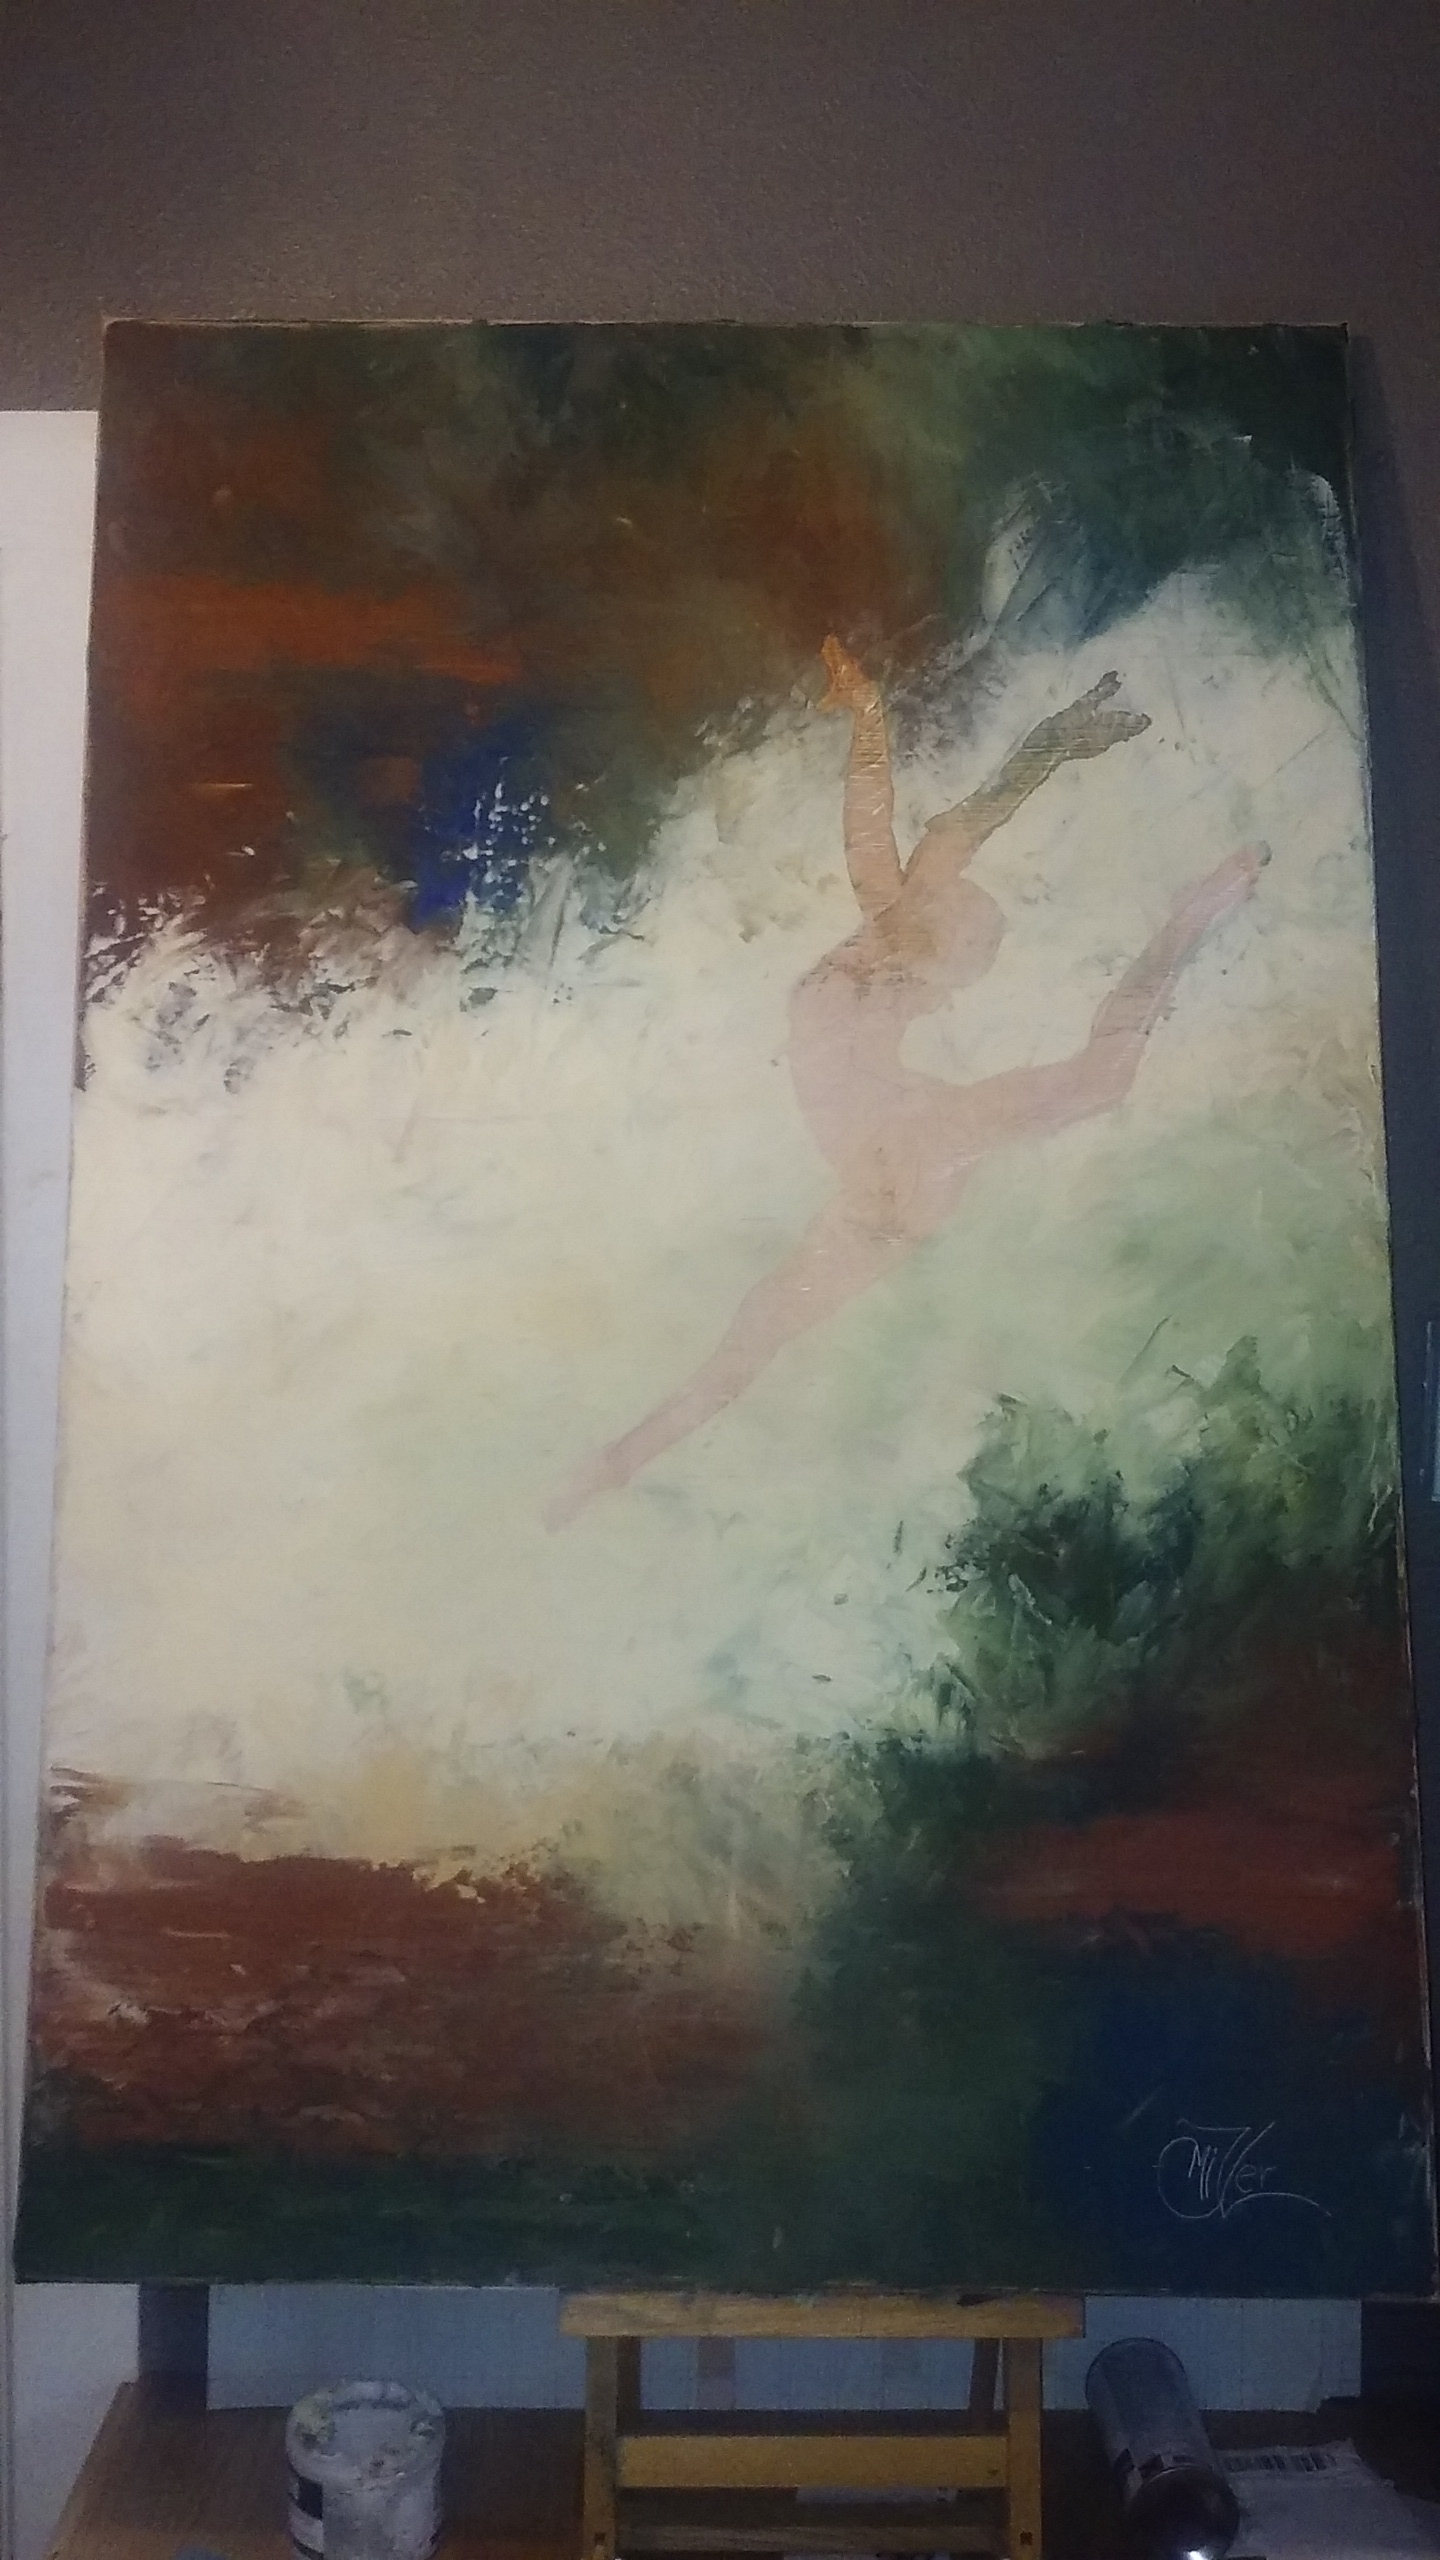
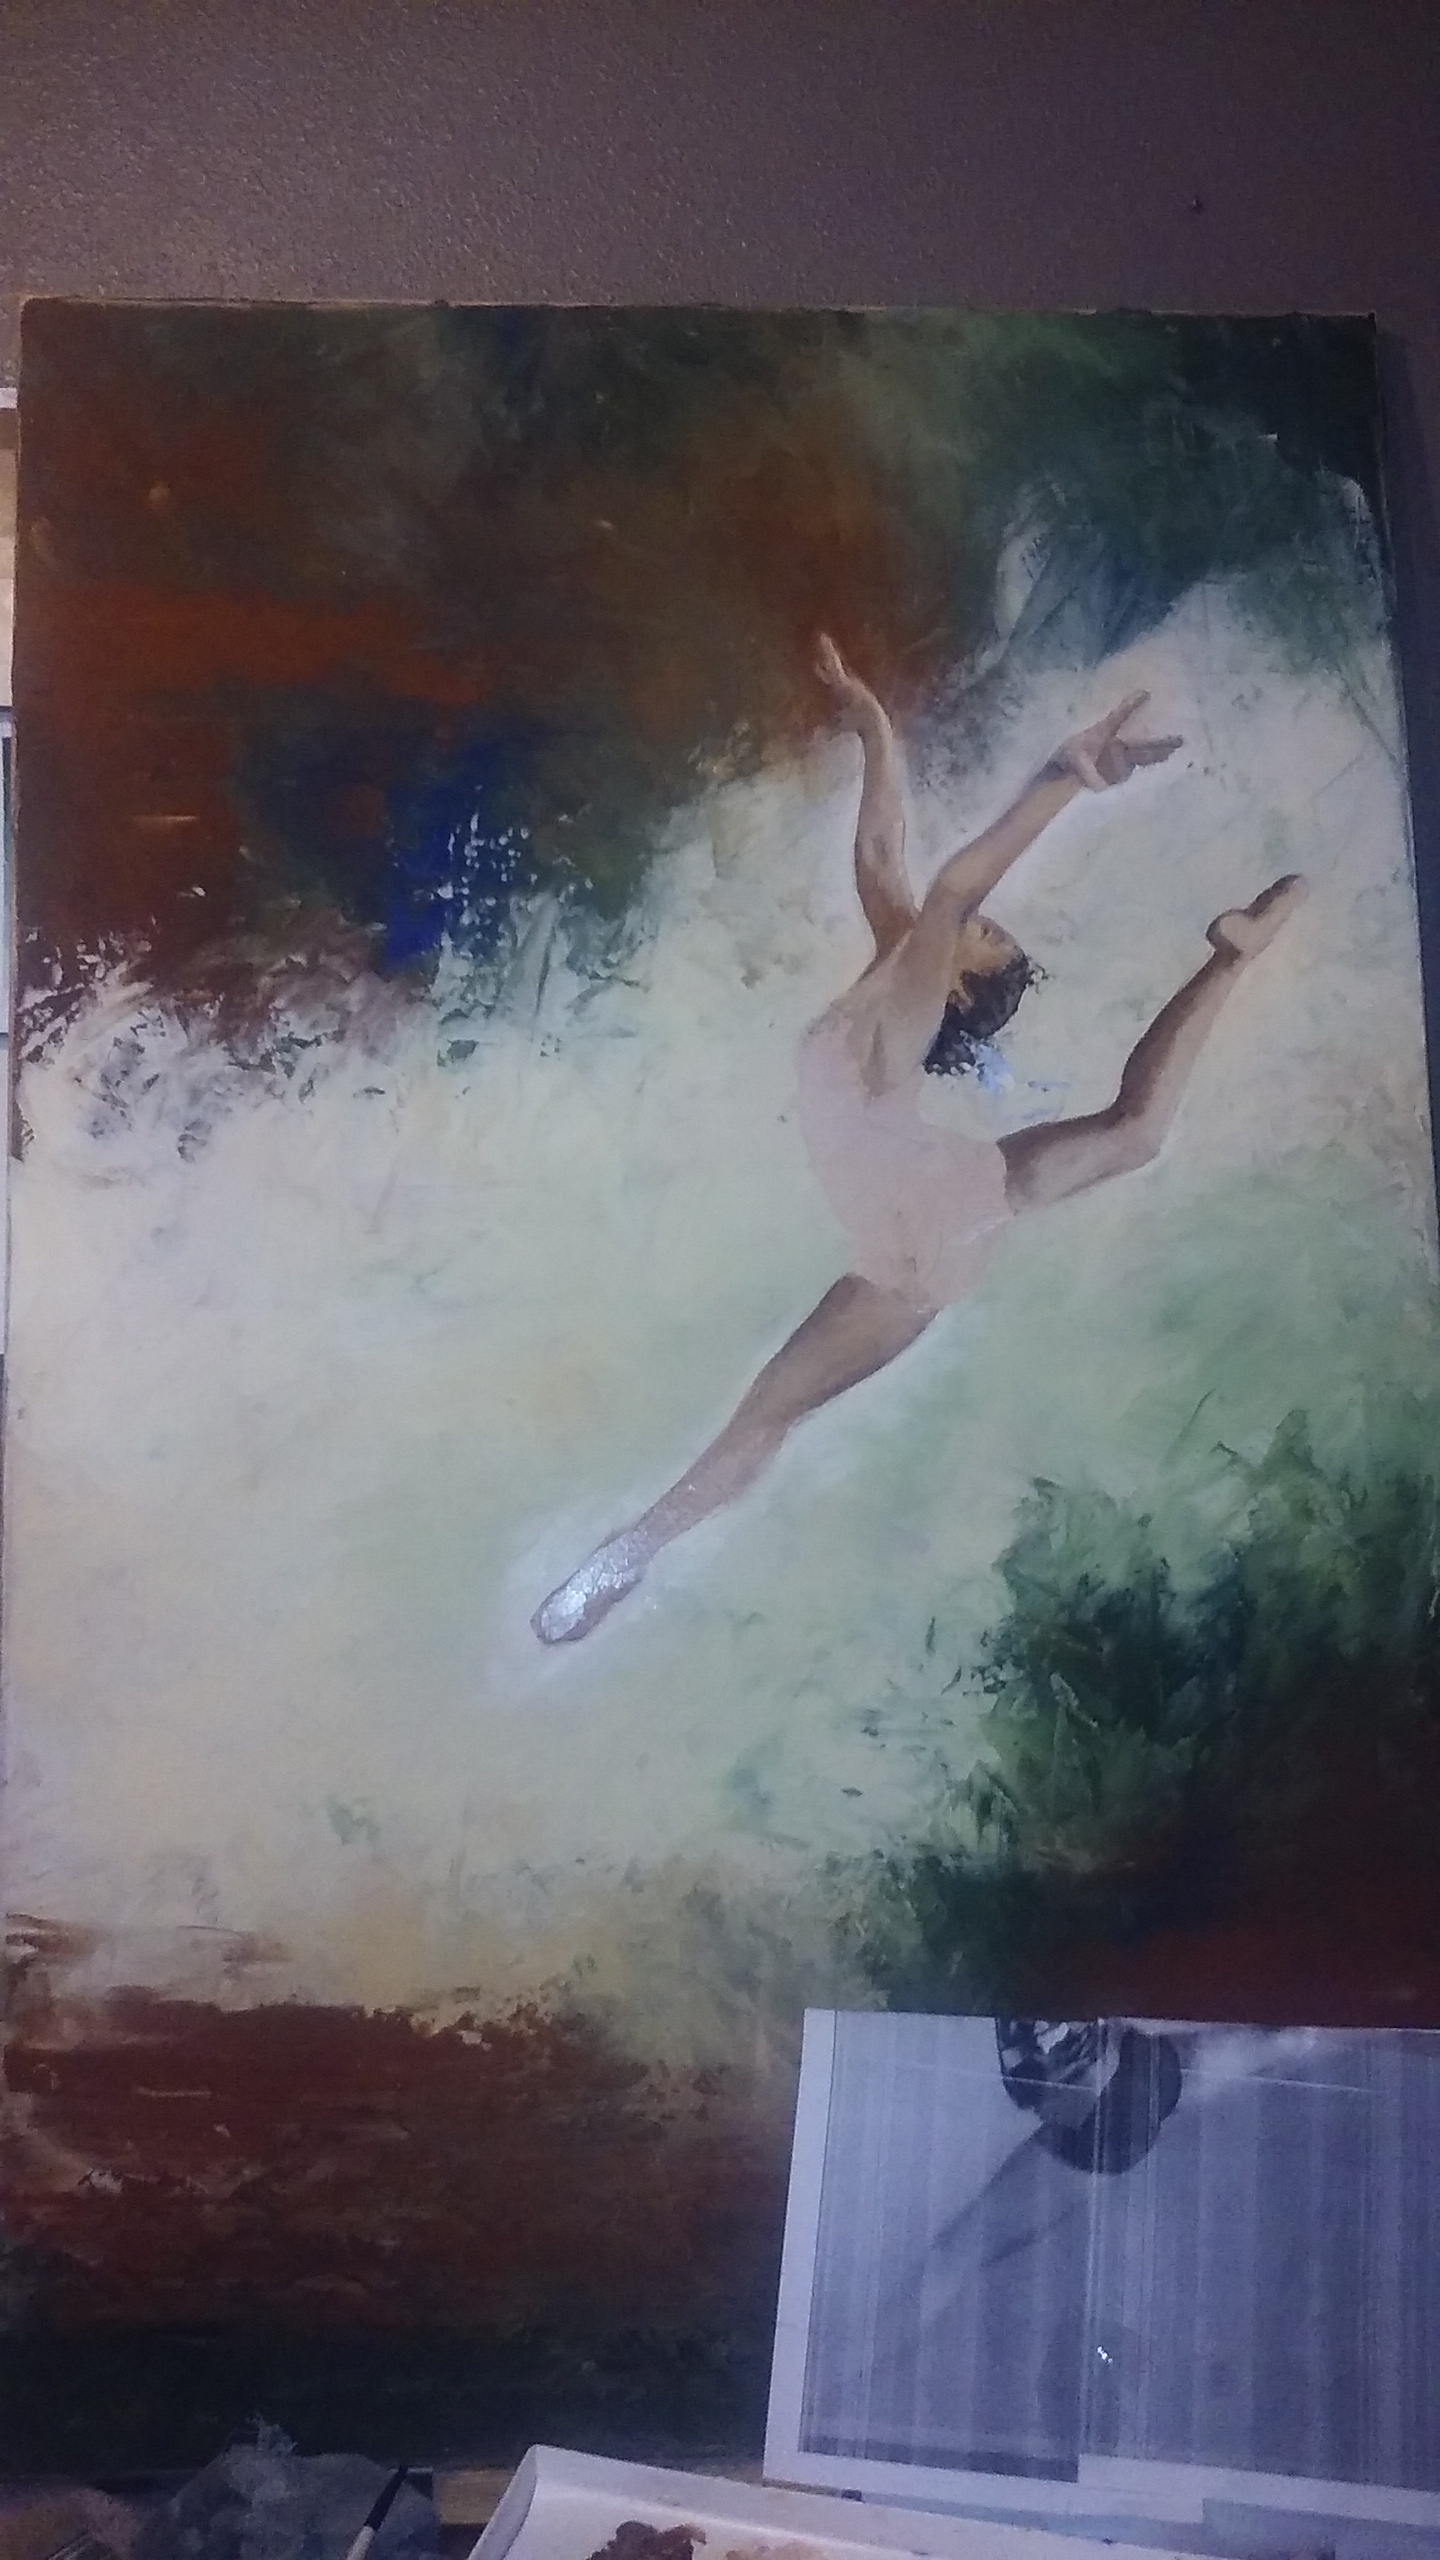
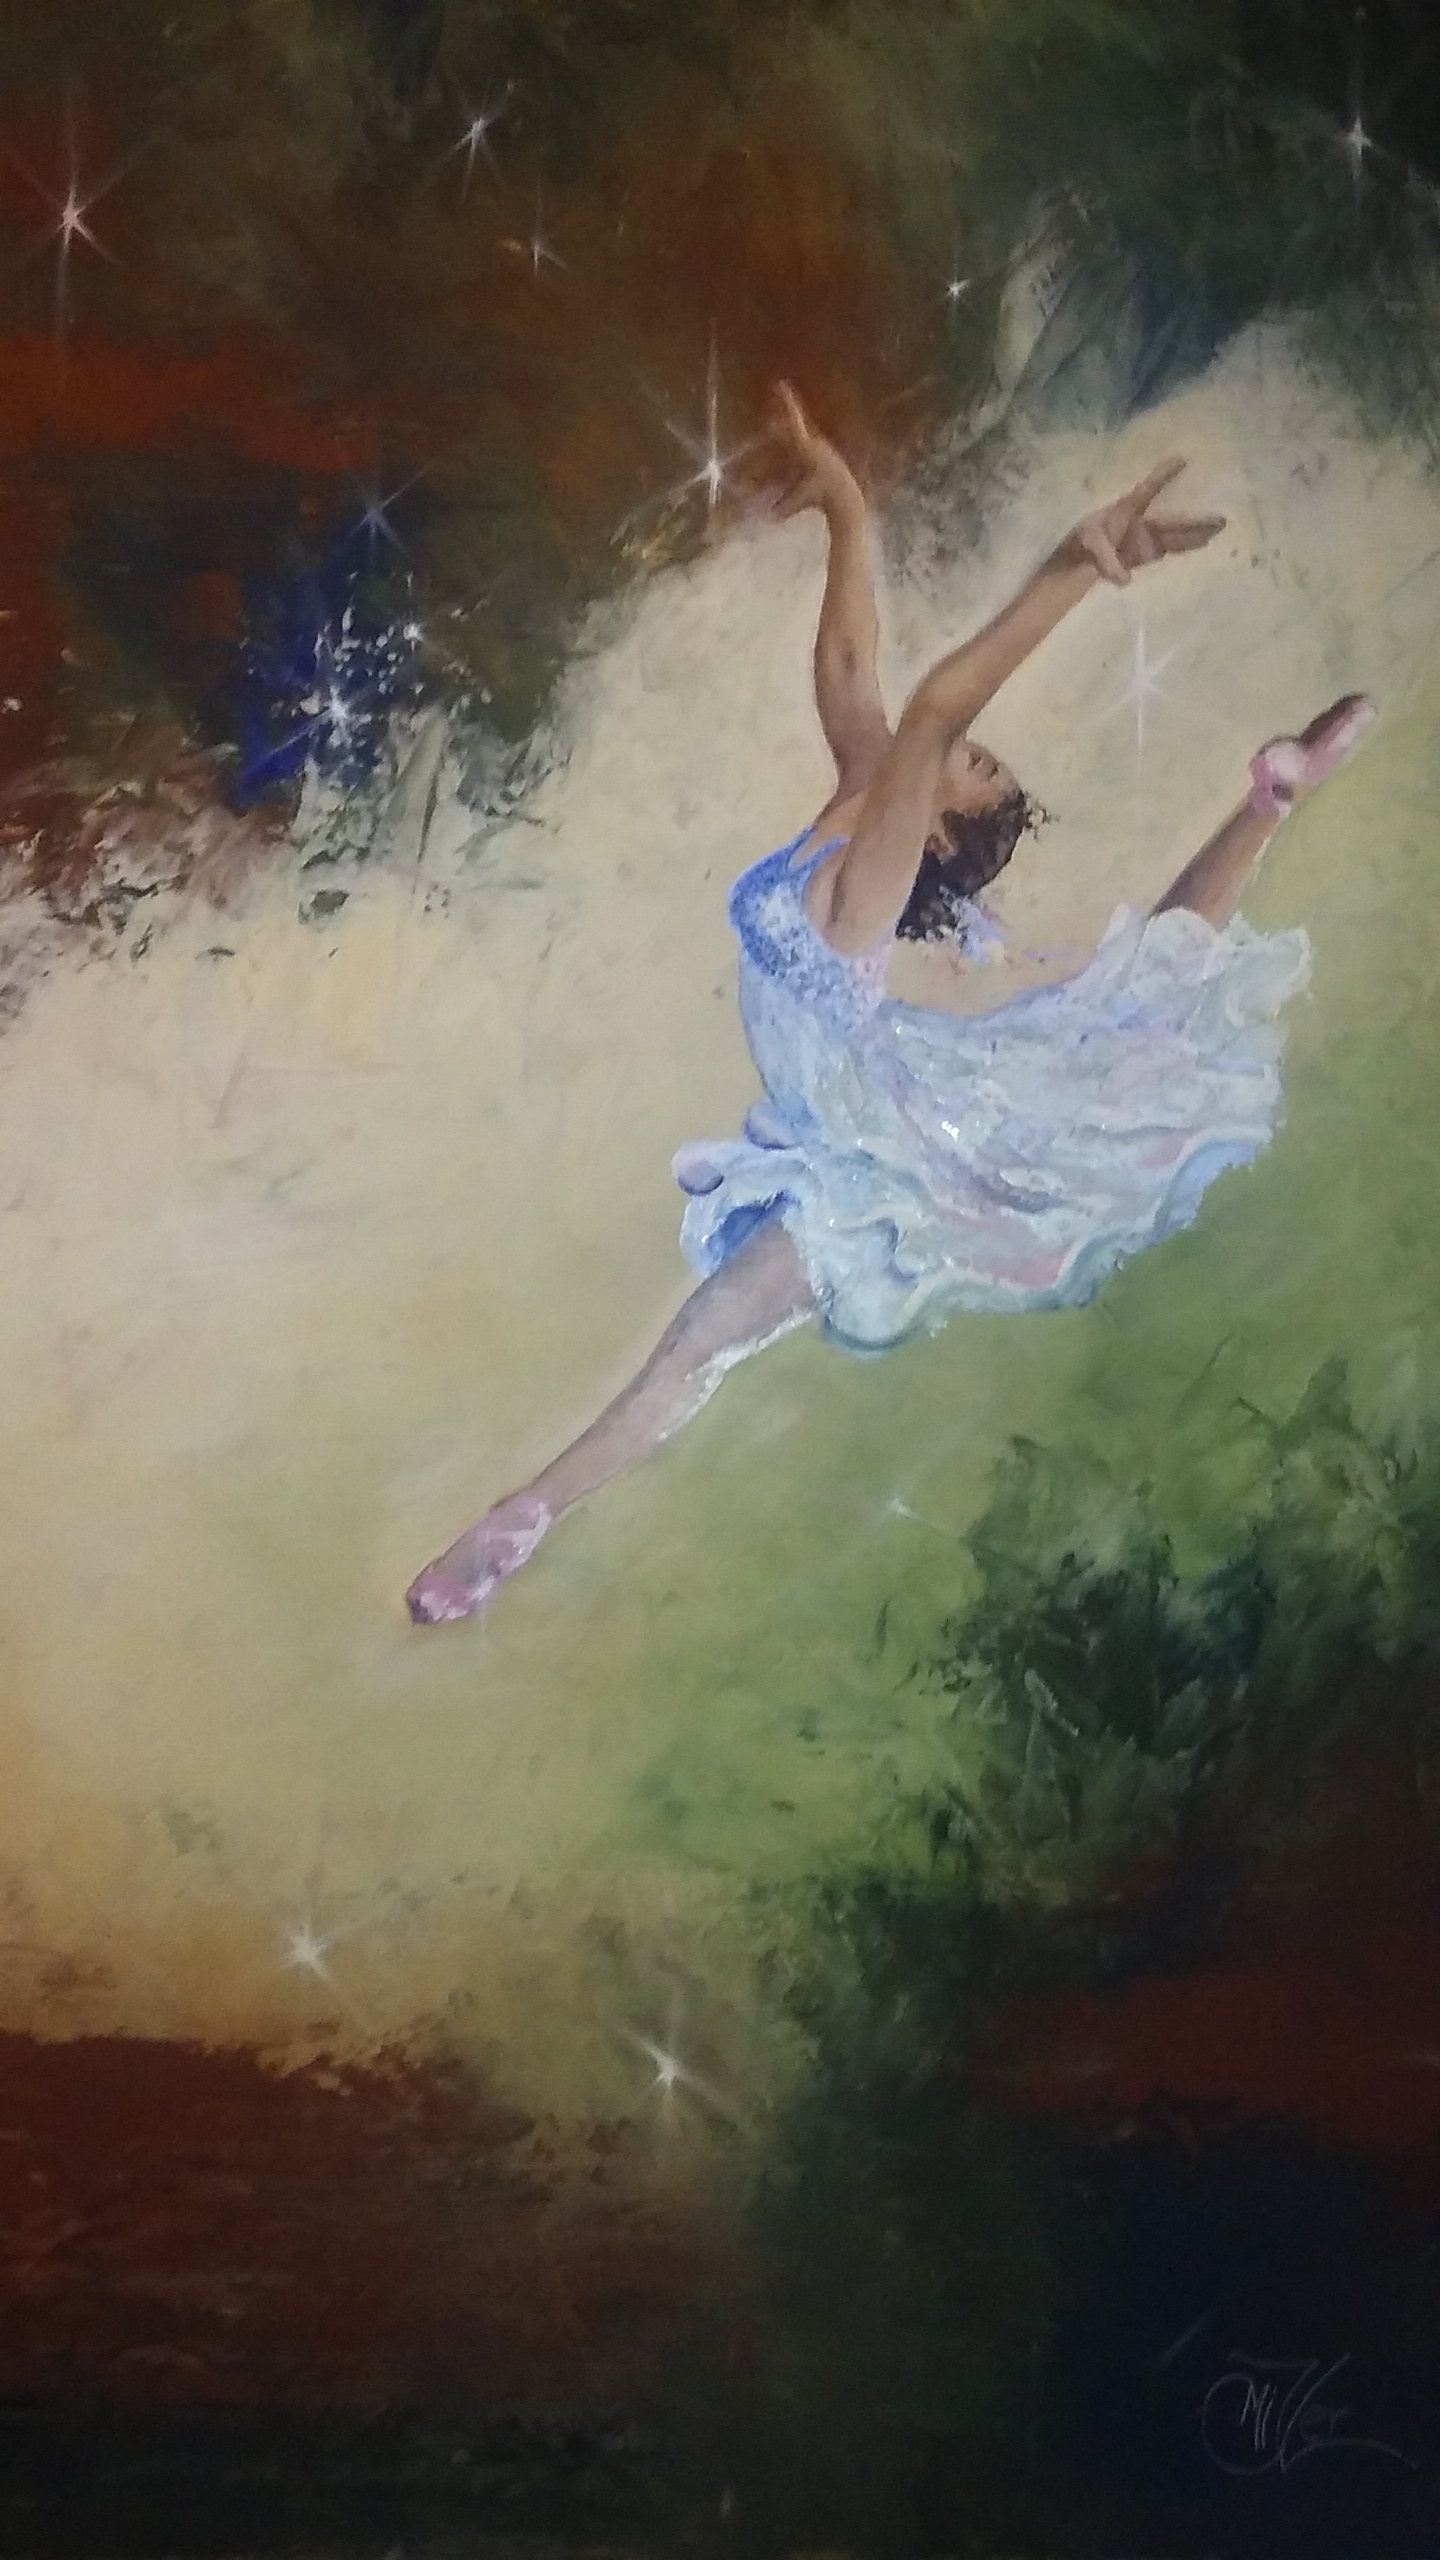
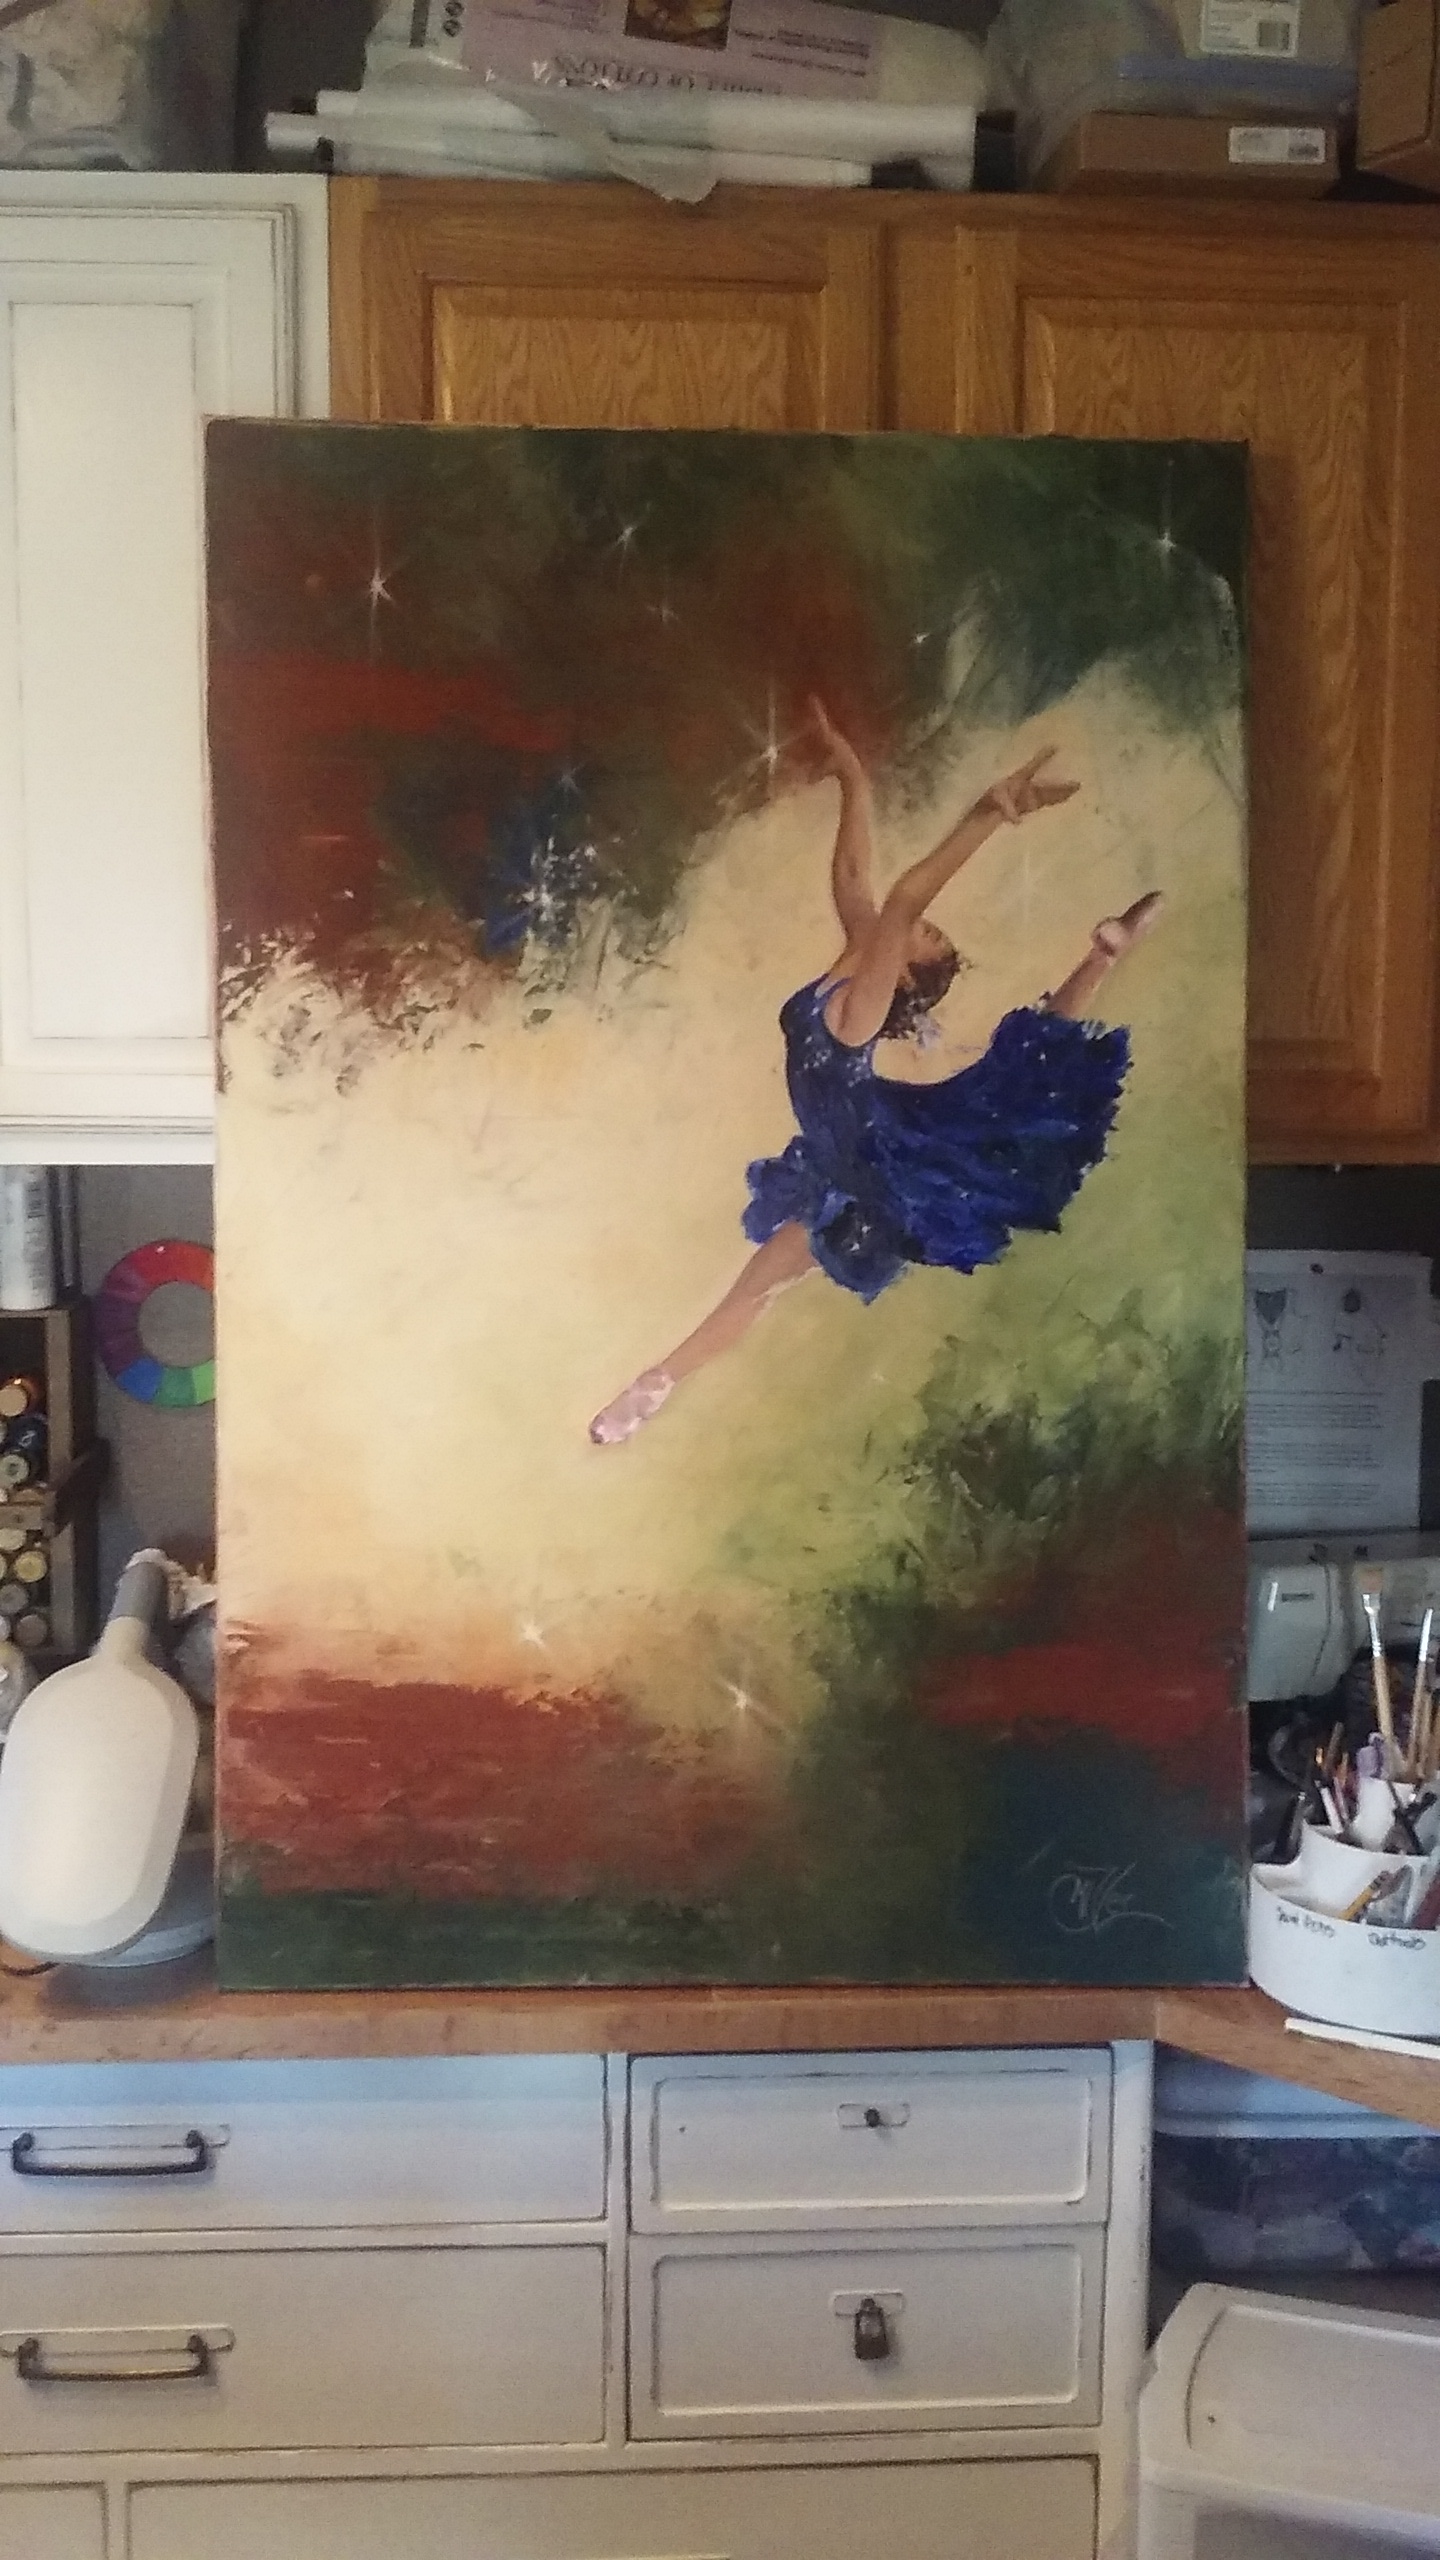
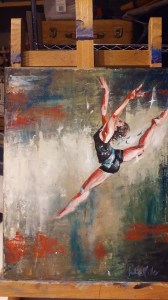 So you might remember my Leap of Faith painting from about a month ago. This one I did for my Granddaughter who was the subject of the reference photo I used. i really liked the way that painting turned out so I wanted to try it on a larger scale. So I pulled out a 4ft by 2.5ft canvas I have had laying around and started to sketch out the leaper in a larger format to fit the scale of the new canvas.